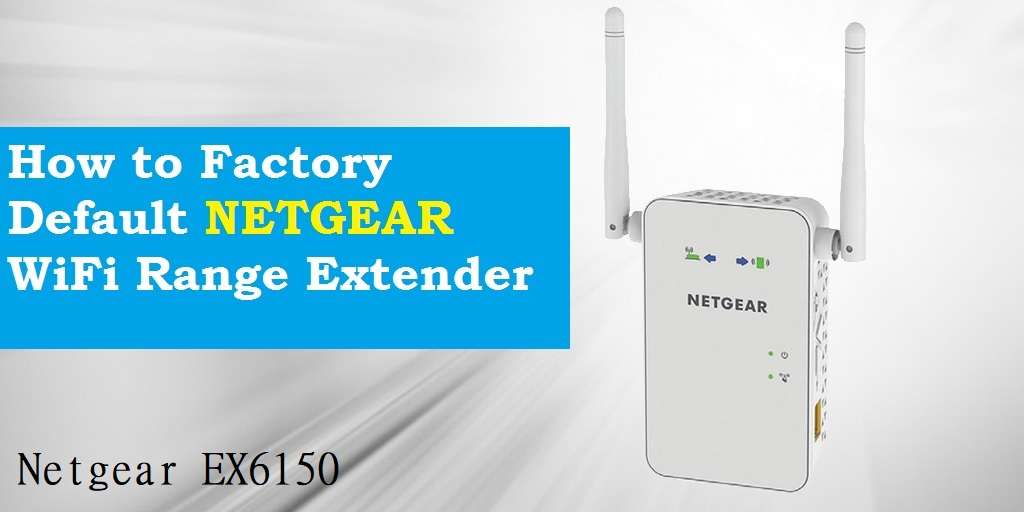
Netgear Extender Access Point Setup: A Complete Guide
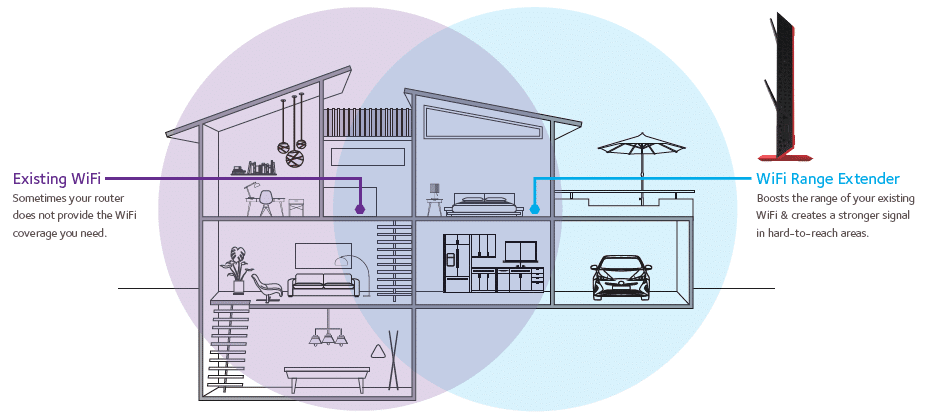
Netgear WiFi range extenders allow users to connect to their routers from anywhere in their home and extend the wireless coverage of their existing routers. Many users, however, are unaware that they can finalise the Netgear extender access point setup. In other words, when the Netgear extender is in Access Point mode, it transmits entirely new WiFi signals that are stronger than those transmitted in the extender mode. In other words, setting up a Netgear extender access point allows your WiFi device to act as a hotspot for other devices on your home network.
Do you want to know how to set up a Netgear extender access point? Simply read through this post to learn the step-by-step instructions for setting up your Netgear WiFi extender as an access point. But first, let us go over the advantages of installing the extender in the access point mode.
Advantages of the Netgear Extender Access Point
When you have a lot of networking devices in addition to lots of visitors, performing Netgear extender setup as an access point will be very helpful. Your extender can support more devices when it serves as an access point, giving you the freedom to access the internet even in the darkest parts of your house. The following are just a few of the many advantages that the Netgear extender access point offers:
- Anywhere there is a wired router connection, they can be installed.
- You can restrict guest access in access point mode without compromising network security.
- The network quality is not compromised.
Let’s move on to the procedures for Netgear Extender Access Point setup.
How to Do Netgear Extender Access Point configuration?
You can easily set up a Netgear extender access point using mywifiext.net by following the steps listed below:
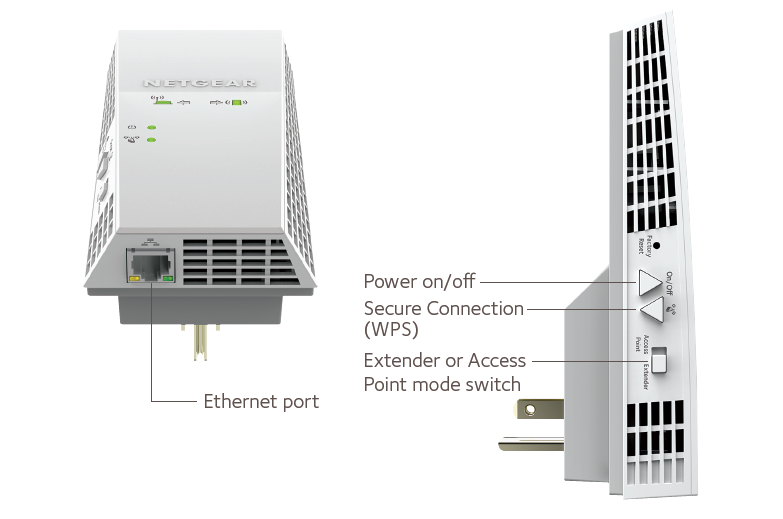
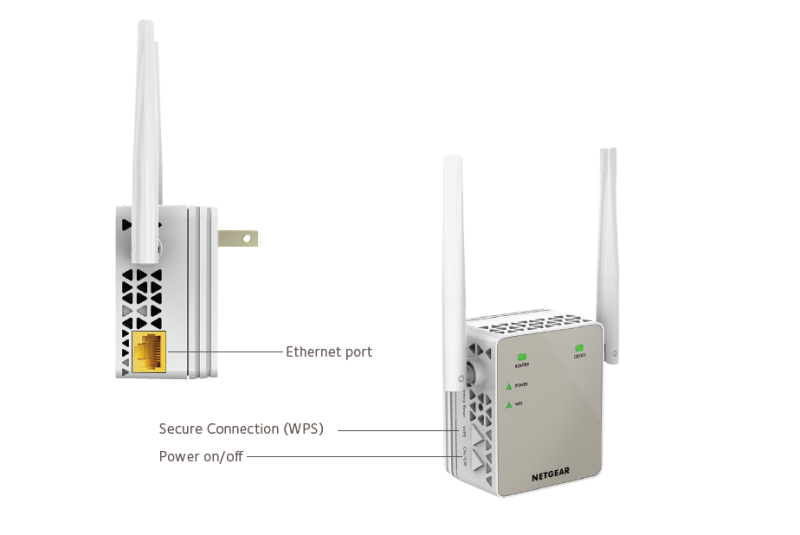
- Start by turning on your WiFi extender from Netgear.
- Set the Access Point mode on your Netgear range extender if it has an Access Point or Extender switch.
- Select an Ethernet cable now, and use it to connect your Netgear extender to the host router.
- Afterward, turn on your computer.
- Open a web browser, such as Apple Safari, Microsoft Edge, Mozilla Firefox, Google Chrome, etc.
- Place the cursor in the web browser’s URL field.
- Enter mywifiext.net there.
- Press Enter.
- The admin page for your Netgear WiFi extender will appear.
- Enter the extender’s default username and password here.
- Select Log In from the menu.
- The screen will show the Netgear Genie smart setup wizard.
- You will now be prompted to confirm the installation type.
- Choose the Access Point option as a result.
- Several prompts will now appear on the screen.
- Complete the Netgear extender access point setup by paying close attention to the on-screen instructions.
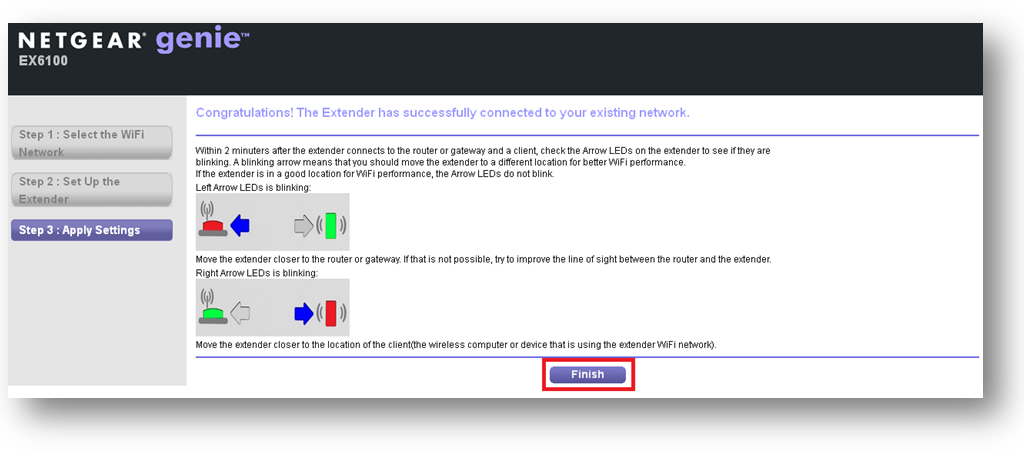
I have finished. You’ve successfully set up your Netgear WiFi extender to work in access point mode. It will now function as a central hub that connects to devices already connected to the home network. Only this time, it will project WiFi signals to a predetermined area as needed.
Even though installing a Netgear extender as an access point is simple, some users have trouble with it and end up stuck. If you share the same fate, the following advice will assist you in solving your current issue.
Checkpoints: Setting up the Netgear Extender Access Point
You need to plug your Netgear extender into a functional wall outlet.
- Your Netgear extender’s connection to the host router needs to be impenetrable.
- Ensure that Netgear_ext is accessible to you.
- The Ethernet cable used to connect your WiFi devices shouldn’t have any cuts in it.
- Neither a firewall nor an antivirus programme should be running concurrently with the Netgear extender access point setup.
- For Netgear extender access point setup, you must use an updated web browser.
- The default login information for your extender is case-sensitive, so be careful when entering it.If you are unsure of the default admin information for your extender, think about seeking assistance from the Netgear user manual.
- Avoid setting up a Netgear extender access point using a cached web browser.
- To access the Netgear extender login window, always use the address bar of the web browser.
No matter what model your extender is, you will be able to set it up as an access point by keeping in mind the aforementioned points. These procedures apply whether you want to install another model or set up a Netgear extender in access point mode.
Conclusion
Your extender will become a standalone device with full-home internet access once you complete the Netgear extender access point setup. You should be able to install the Netgear extender as an access point by following the instructions and checking the points listed here. Contact us if you need free assistance regarding Netgear extender access point setup.
Step-by-step guide for Netgear Orbi AX6000 setup
Step-by-step guide for Netgear Orbi AX6000 setup Your experience with a smart home is raised by the WiFi 6 mesh network, the Netgear Orbi AX6000.
A Complete Guide to Fix Netgear POE Switch Problems
A Complete Guide to Fix Netgear POE Switch ProblemsThe networking feature known as POE, also called Power over Ethernet, is described by the IEEE 802.3af
Netgear Extender Access Point Setup
Netgear Extender Access Point Setup: A Complete Guide New Extender Setup Netgear WiFi range extenders allow users to connect to their routers from anywhere in
Netgear Nighthawk AXE11000 Router Setup
Netgear Nighthawk AXE 11000 Router SetupDo you have a thing for Netgear devices? Is that a yes? When did you most recently bring a new
How to activate access control on a Netgear wifi extender?
How to activate access control on a Netgear wifi extender?Access control is a security method that limits who or what can access resources in a
Troubleshooting Tips for Netgear Authentication Error
Troubleshooting Tips for Netgear Authentication Error When Netgear users are unable to connect to wireless because they have forgotten their Netgear extender default password, an
Quick Troubleshooting Techniques for Mywifiext Not Loading Error
If you are experiencing issues with Mywifiext not loading, there are a few troubleshooting techniques that you can try to resolve the issue quickly. Mywifiext
Netgear Nighthawk XR1000 Router
Netgear Nighthawk XR1000 Router Setup New Extender Setup The Nighthawk XR1000 Pro gaming router was created with maximum gaming performance in mind. Furthermore, the Nighthawk
Netgear EX7500 Setup
NETGEAR EX7500 SETUP | AC2200 NETGEAR EX7500 Setup: When it comes to wireless mesh extenders, nothing can beat the competency of the Nighthawk X4s AC2200.
How to fix Netgear extender firmware update failure issue?
How to fix Netgear extender firmware update failure issue? A frequent Netgear extender firmware update is required for your Netgear extender to function properly. However,
Netgear AC1900 Extender Setup
NETGEAR AC1900 Extender Setup | EX7000 Netgear AC1900 extender setup guide will you to connect your WIFI booster to your home wireless modem or router.
Netgear WN3500RP Setup
Netgear WN3500RP Setup | Netgear N600 Extender The Netgear WN3500RP Setup of N600 WiFi Range Extender not only improves your dual-band WiFi, but it also lets