Step-by-step guide for Netgear Orbi AX6000 setup
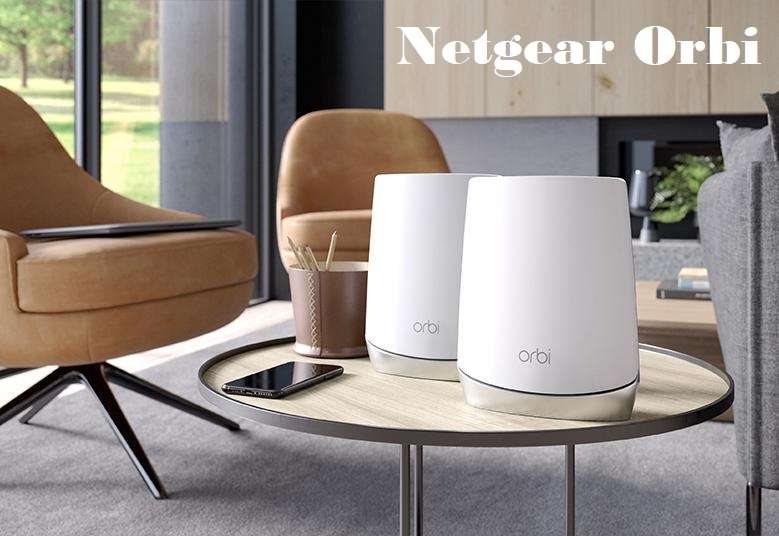
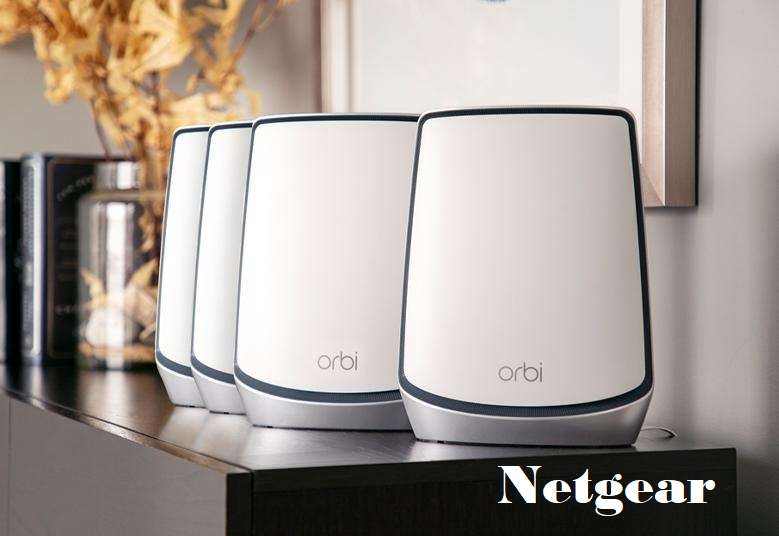
Your experience with a smart home is raised by the WiFi 6 mesh network, the Netgear Orbi AX6000. Your WiFi connections are all kept strong by its incredible coverage capacity. The Orbi AX6000 tri-band WiFi mesh system offers you higher performance and simultaneous WiFi streaming, web browsing, and online gaming on a variety of devices from the top to the bottom. The Netgear Orbi AX6000 WiFi mesh system needs to be set up first before you can utilise all of its amazing features. Lacking knowledge of Netgear Orbi AX6000 setup? Do not be alarmed! You will be informed of the entire Netgear Orbi AX6000 setup procedure after reading this post.
Netgear Orbi AX6000 Configuration Using the Orbi App
Orbi App is a mobile application that is designed to manage and configure Netgear Orbi Wi-Fi systems. The Orbi Wi-Fi system is a mesh networking solution that uses multiple devices to create a single, seamless Wi-Fi network. The Orbi App allows users to set up their Orbi Wi-Fi system, monitor network performance, configure settings, and manage connected devices from their smartphone or tablet. The app provides an easy-to-use interface that makes it simple for users to manage their Wi-Fi network from anywhere.
Netgear orbi AX6000 setup can also be done via the Orbi app. Just complete the steps listed below, and you’re done:
- Turn on your smartphone’s mobile data.
- Launch Google Play or the App Store.
- On your smartphone, install the Netgear Orbi app.
- Launch the app after it has been downloaded.
- Enter the default username and password for your WiFi 6 mesh system.
- Now, adhere to the setup guidelines displayed on the screen.
You’re finished! Your Netgear Orbi AX6000 RBK852 tri-band WiFi system is now operational. If you encounter any technical difficulties during the setup process, please contact our knowledgeable technicians who will resolve the problem within minutes.
How to configure Netgear Orbi AX6000 Via web interface?
WiFi speeds up to 6 Gbps are delivered by the Orbi AX6000, which is nearly twice as fast as the Netgear Orbi. You will receive an Orbi router and a satellite in the RBK852 package. The satellite boosts the WiFi signal throughout your home while the Orbi router connects to the main gateway.
Here are the steps to set up the Netgear Orbi AX6000 RBK852 in small points:
- Make sure your Netgear Orbi router is connected to a wall outlet correctly.
- When certain, seize an Ethernet cable. Connect the other end of the cable to the existing modem and the Orbi router.
- Your laptop’s screen will display a message confirming the Ethernet cable’s connection.
- The Netgear Orbi satellite should now be plugged into an outlet. Switch on the power.
- Setup for Orbi Router Manually sync the satellite and your Netgear Orbi router. Press the Sync button on the router, then the satellite, to accomplish this.
- A few seconds should pass.
- Start your laptop’s internet browser.Your choice of browser is entirely up to you. Simply ensure that it is running the most recent version.
- In the address bar, enter Netgear Orbi’s default web address.
- Hit the Enter key.
- You will arrive at the Netgear Orbi login page and be prompted to enter the device’s default login information.
- So, enter the default username and password in the corresponding fields.
- Press Log In.
- When the Netgear Orbi AX6000 setup wizard appears, adhere to the on-screen instructions.
Table of Contents
For more information about:
Step-by-step guide for Netgear Orbi AX6000 setup
Step-by-step guide for Netgear Orbi AX6000 setup Your experience with a smart home is raised by the WiFi 6 mesh network, the Netgear Orbi AX6000.
A Complete Guide to Fix Netgear POE Switch Problems
A Complete Guide to Fix Netgear POE Switch ProblemsThe networking feature known as POE, also called Power over Ethernet, is described by the IEEE 802.3af
Netgear Extender Access Point Setup
Netgear Extender Access Point Setup: A Complete Guide New Extender Setup Netgear WiFi range extenders allow users to connect to their routers from anywhere in
Netgear Nighthawk AXE11000 Router Setup
Netgear Nighthawk AXE 11000 Router SetupDo you have a thing for Netgear devices? Is that a yes? When did you most recently bring a new
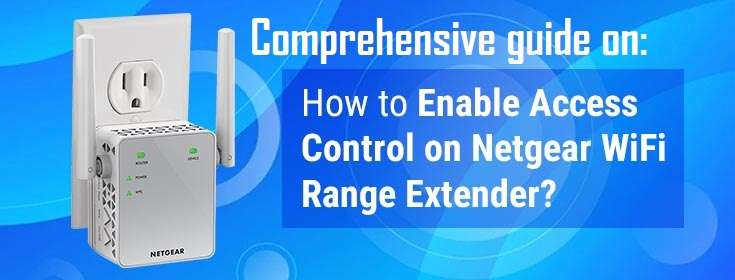
How to activate access control on a Netgear wifi extender?
How to activate access control on a Netgear wifi extender?Access control is a security method that limits who or what can access resources in a
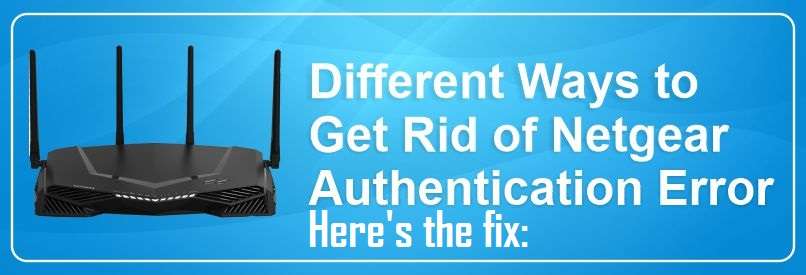
Troubleshooting Tips for Netgear Authentication Error
Troubleshooting Tips for Netgear Authentication Error When Netgear users are unable to connect to wireless because they have forgotten their Netgear extender default password, an
How to fix Netgear Orbi AX6000 Setup issues?
Consider using the following troubleshooting advice if you encounter any difficulties while attempting to set up your Netgear Orbi:
- Verify that you logged into your Orbi wireless router using the correct web address.
- Use the default IP address if orbilogin.com or orbilogin.net won’t work for you.
- Make sure your Netgear Orbi is connected to a power source correctly.
- If the wall outlet your Orbi is currently plugged into is damaged, think about using a different one.
- The Netgear Orbi router and the current modem should be connected securely, regardless of the source you used.
- Don’t type the default web address into the search bar when setting up your Netgear Orbi.
- Instead, enter it in your web browser’s address bar.
- Move your Orbi device immediately if it is situated close to transmitting devices and reflective surfaces.
- If you are still having trouble setting up your Orbi router even after trying these troubleshooting steps, know our technical experts via live chat or toll free number.