
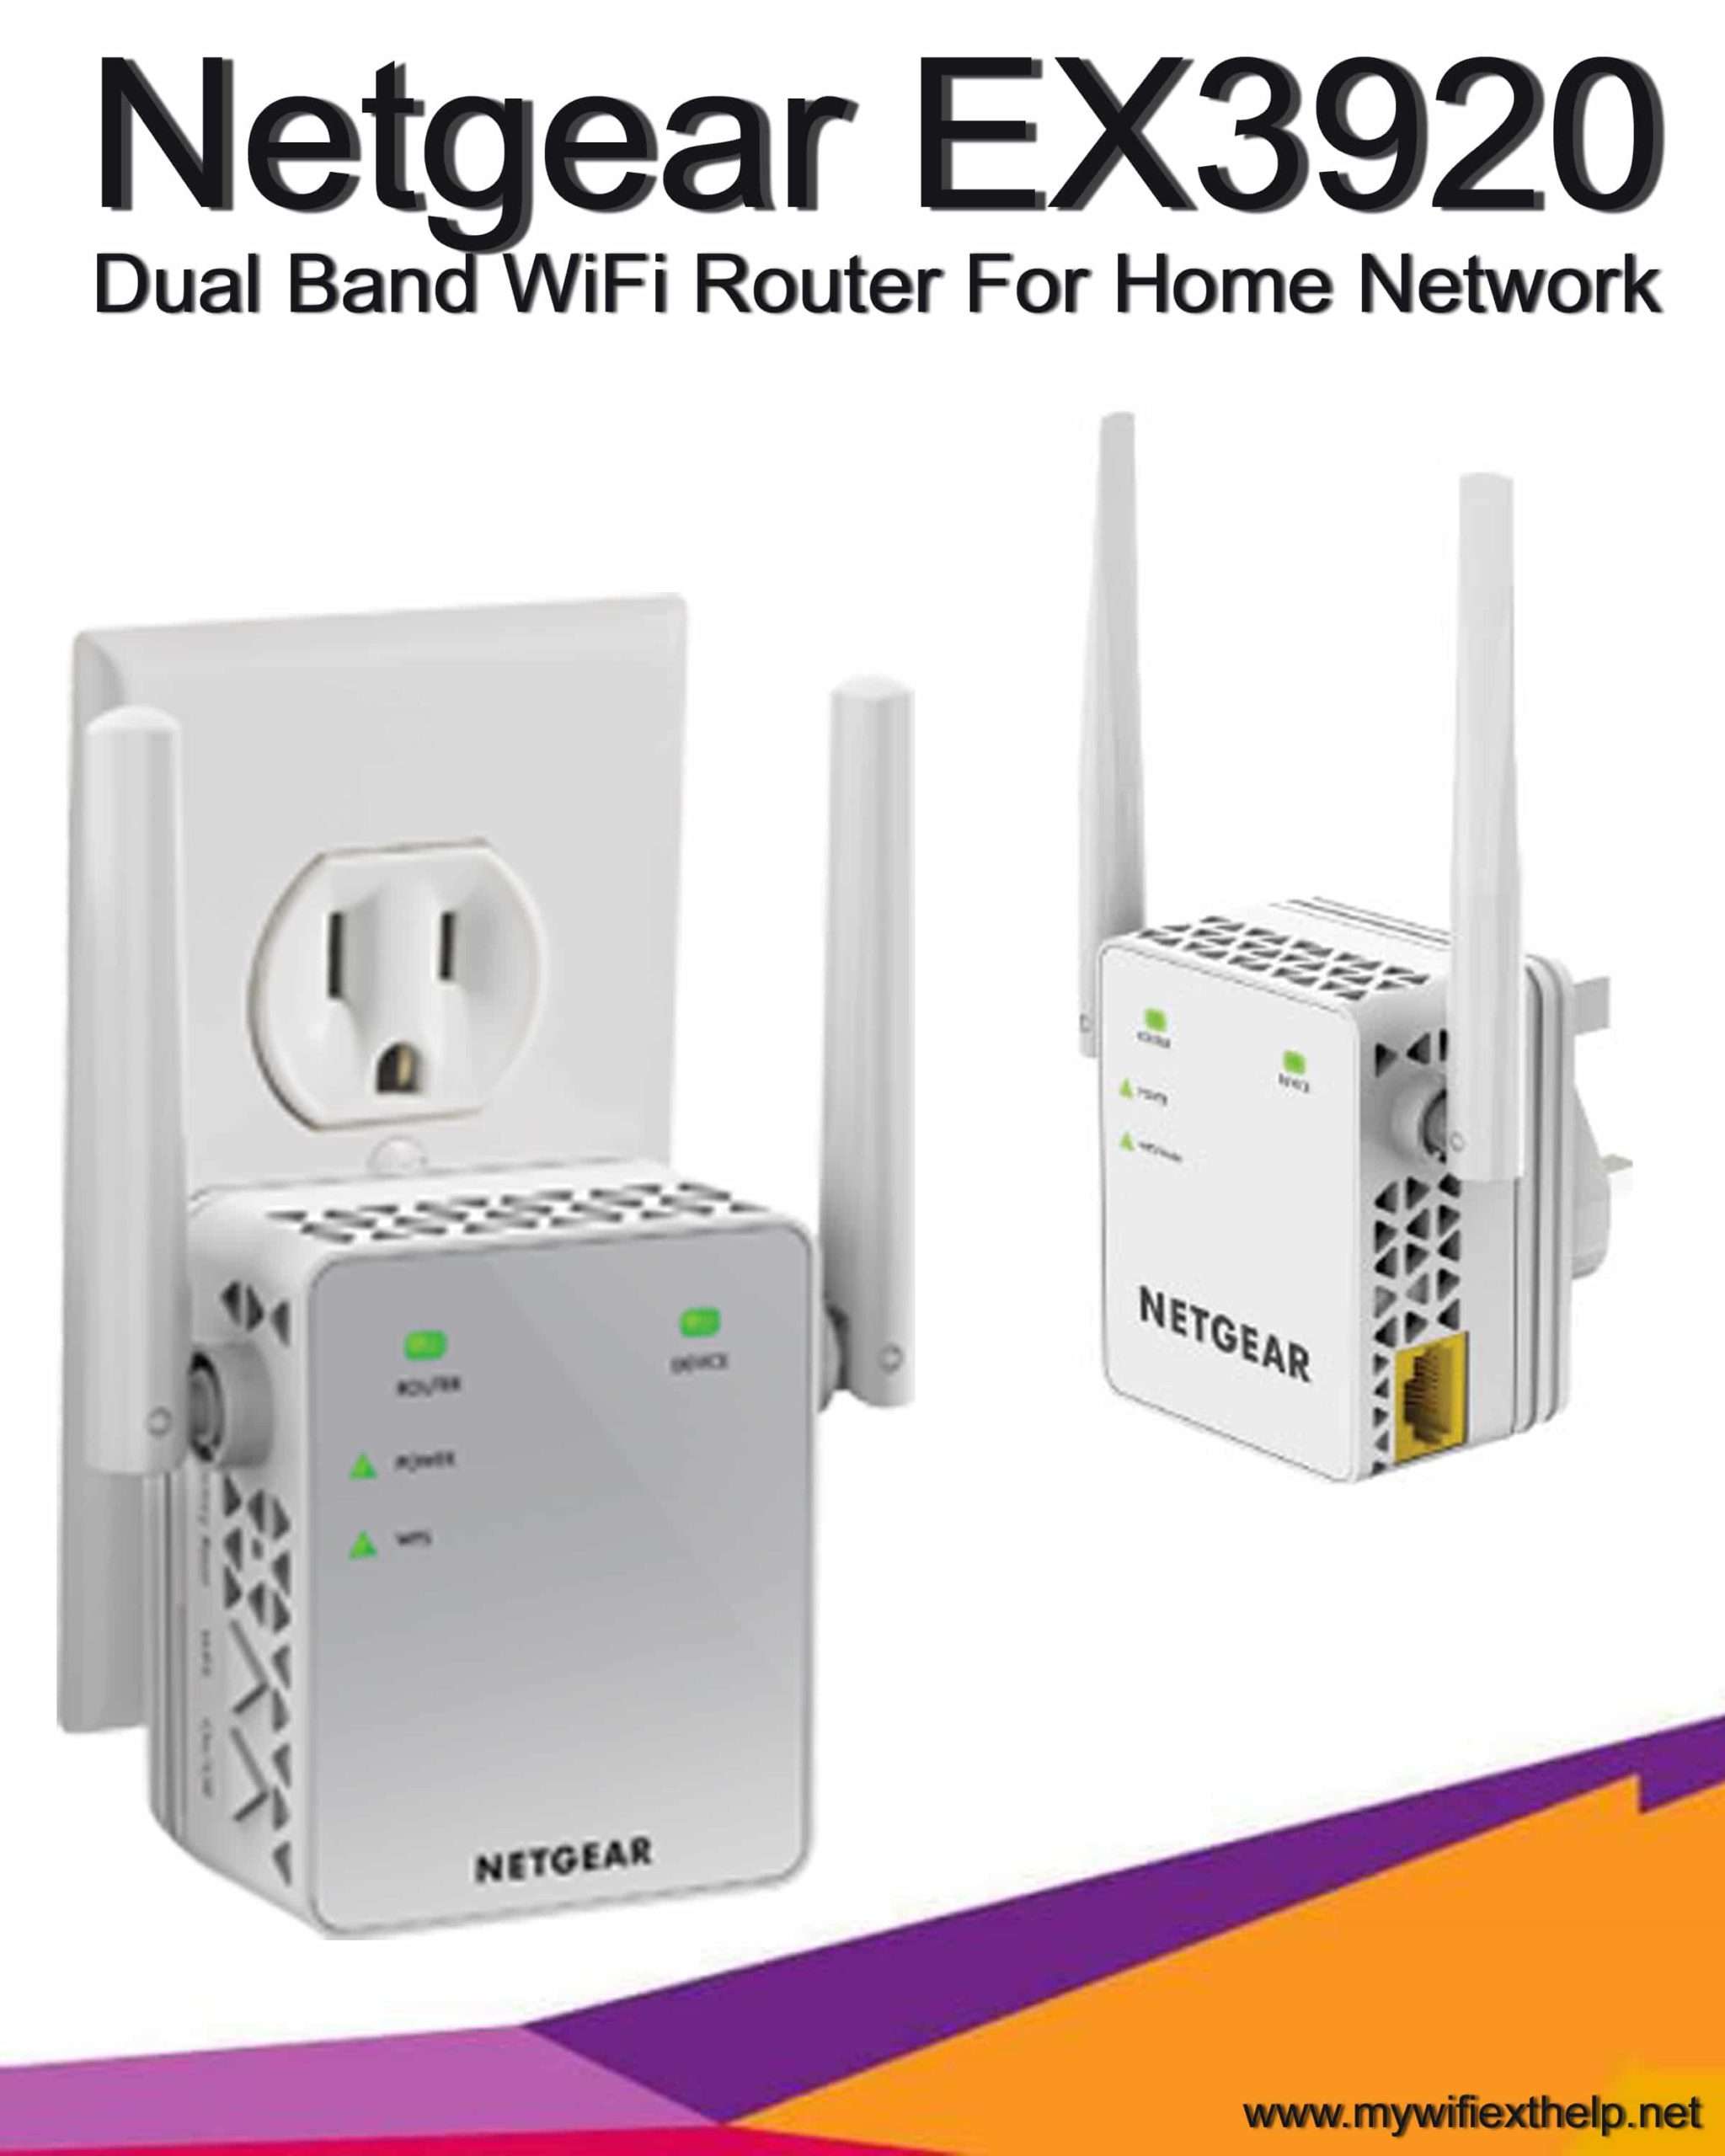
Netgear EX3920 Setup | AC750 Extender
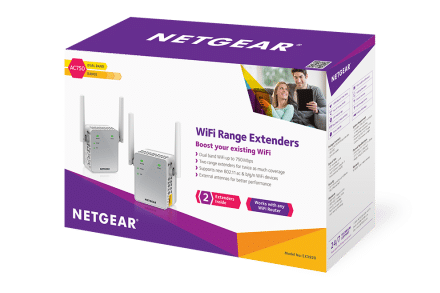
To Setup your Netgear EX3920 you need to unbox the extender first, you will find Two Netgear Units and the most important EX3920 Manuals. Which can be difficult to understand for non-tech savvy users. If you are one who is not well trained to perform such tasks you can use our chat or call support.
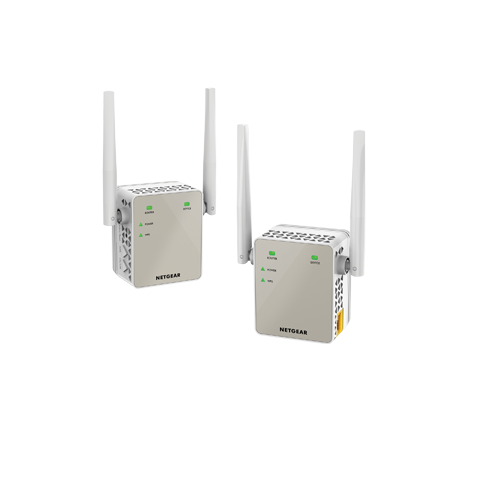
Table of Contents
How do I set up my Netgear EX3920?
For the Netgear EX3920 Setup, you need to follow the steps below:
- Place the EX3920 AC750 Extender near the Home Wi-Fi router.
- Plug the extender into the electric outlet.
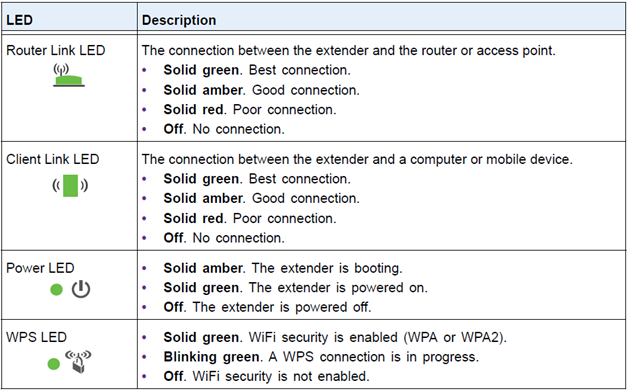
- Now, wait for the power light to turn amber and then turn solid green on your Netgear EX3920.
- If the power LED does not light, press the power on/off button.
- After your extender is on, you need to connect your wireless device with the Netgear_ext network.
- Visit www.mywifiext.net after you are connected to the Extender’s network.
- Complete the on-screen instructions to install your Netgear EX3920.
As the Netgear EX3920 comes with two units you need to do the same steps given above for the second unit too. These are two different extenders for large homes with more area to cover if you still find any issues you may use our chat support now.
Complete Netgear EX3920 Setup using WPS
To install your EX3920 extender using WPS:
- For the EX3920 Setup, plug the extender in close proximity of your home router.
- Wait for the power light to turn steady/solid green.
- Once you will get the power light on the extender then push the W.P.S button on the Netgear EX3920.
- Now within 1-2 minutes push the W.P.S button on the router or modem.
- Now there will be a green light that will start blinking on the modem and as well as on your Netgear AC750.
- Once you’ll get all solid green lights on the extender which means your extender is successfully connected to the 2.4GHz home wifi network.
- Repeat the steps to connect the extender to the 5 GHz band if your WiFi router supports it.
- Unplug the Netgear EX3920 extender once all the steps mentioned are complete and move it between the dead spot and the router for optimal performance.
As discussed before also you can do the same process with your Netgear EX3920 second unit too for it to be up & running. That’s how you can complete the Netgear AC750 EX3920 Wifi Extender Setup. If you still think you need some help, feel free to reach our support using the chat option.
For more information & troubleshooting:
Netgear EX3920 Run Smart Setup Installation
EX3920 Smart setup installation is an easy process, in which users can Re-install or Manage the extender from any of the devices connected to the same unit. you can make changes like Rename the Ac750 EX3920 SSID or the Wi-Fi password.
To run the Netgear EX3920 Smart setup:
- Pick any of your wireless devices and connect them with Netgear EX3920 Network.
- Once connected, the device LED on the AC750 Extender will go green.
- Launch a Web browser like Chrome, Edge, Safari, or Firefox.
- Enter mywifiext.net on the address bar of the browser.
- Click the login button to enter your email address and password.
- Click the Smart setup and the welcome page comes on the screen of your device.
- You are logged into the Ex3920 dashboard from where you can re-install or manage your extender easily.
- For more info, you may talk to our AC750 EX3920 expert team.
Following the directions above you can configure your wifi extender in quick mins only, the process discussed above is web browser smart setup. If you still have any issue with your Netgear EX3920 Setup. Dial our Toll -Free.
How to configure the Netgear EX3920 extender via web browser setup?
To configure your EX3920, you can also use your web browser like Chrome or Safari, Web browser setup process for Netgear Ac750 Ex3920 is only applied when you can’t follow the WPS setup process or in any case, your router or modem does not have the WPS button. You may follow the directions to install your EX3920 extender given below.
- Make sure EX3920 is plugged and powered up.
- For initial installation, the extender will remain closer to the router.
- Now on your Smart device Go to Wireless manager.
- Select the Netgear_ext SSID displayed on the Wi-Fi settings.
- Connect your Smart device with the same network.
- Visit the Netgear EX3920 setup page now to complete the setup process.
- Once you are on the setup page, It might ask you to create an account that you easily set up in a few seconds.
- Now the on-screen directions are very easy to work with.
till there are some issues with your EX3920 Wifi extender, you are recommended to get in touch with our experts. To reach our experts you email us.
Recent Posts
- Step-by-step guide for Netgear Orbi AX6000 setup
- A Complete Guide to Fix Netgear POE Switch Problems
- Netgear Extender Access Point Setup
- Netgear Nighthawk AXE11000 Router Setup
- How to activate access control on a Netgear wifi extender?
- Troubleshooting Tips for Netgear Authentication Error
- Quick Troubleshooting Techniques for Mywifiext Not Loading Error
- Netgear Nighthawk XR1000 Router
- Netgear EX7500 Setup
- How to fix Netgear extender firmware update failure issue?
- Netgear AC1900 Extender Setup
- Netgear WN3500RP Setup
- What is www.mywifiext.net
- How to enable Netgear smart connect on Netgear wifi extender?
- A Step-by-Step Guide to Resetting a Netgear Extender
- Netgear EX3800 Setup
- Tricks to increase the performance of a Netgear wifi extender
Reset Netgear EX3920 Wi-Fi Extender
To reset your EX3920 wifi extender, you need to check first if your extender has a proper power supply and the Power LED on the Netgear EX3920 is solid green.
Steps to Reset Netgear EX3920:
- You need to look on the left side of the Netgear EX3920 extender.
- There you can see two buttons, one will be on/off another will be WPS.
- Above the WPS button, between the small triangles.
- You will see a small circle, that is the Reset hole for your EX3920.
- Grab an object like a Pen or Paper clip.
- Now put that into the Reset hole and hold it down for a few seconds.
- Take the object out of the hole & wait for the Power light to turn green.
By following the steps we talked about above, you should be able to reset your Netgear EX3920 in one minute only. Note: Do not unplug the extender while you are trying to reset it. If that happens you extender can have hardware or software