Installation Steps for Netgear EAX15 extender setup
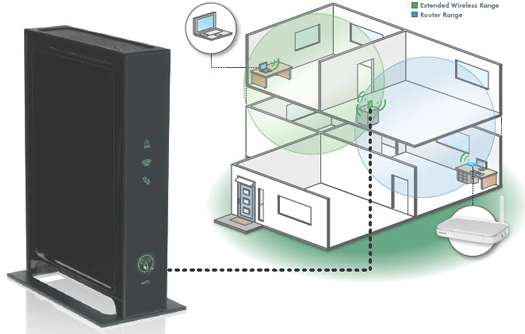
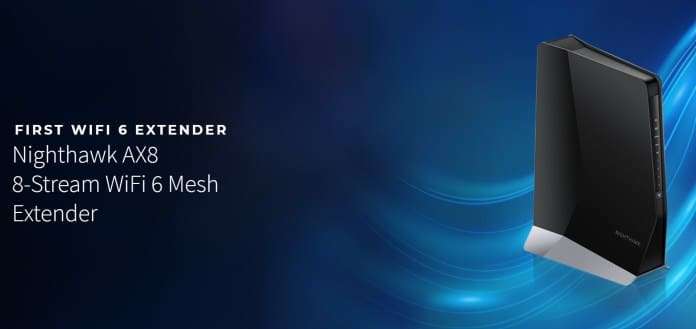
For you, The latest-generation WiFi 6 (802.11ax) standard supports the Netgear EAX15 Wi-Fi Range Extender. This powerful Mesh Extender is designed to provide great energy, rapid speed, and more coverage for the future of WiFi. With more gadgets and seamless coverage in your home with speeds up to 1.8Gbps, experience strong WiFi. More spatial WiFi streams with 4-streams have more usable bandwidth and less interference for all WiFi network users. Netgear extender is the best for small to medium-sized homes with up to 4 rooms, strong WiFi can be extended to every corner and the best internet speeds available can be used to get the speeds you pay for. To experience the highest WiFi speeds and up to 1.5 times greater network range than WiFi 5, upgrade to a WiFi 6 Mesh Extender so that you can link more and more devices on your WiFi today and tomorrow without concern.
In this article we will discuss how to setup Netgear EAX15 extender in various different modes.

Let’s begin the Netgear EAX15 setup:
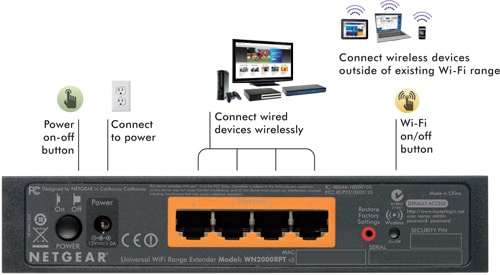
- Plug in a power outlet with your Netgear EAX15 extender.
- Look for the LED power on your Netgear EAX15 extender to become solid green.
- Access your PC or laptop to the Mywifiext setup Netgear WIFI Extender network.
- The LED computer will be turned on when your computer is connected to the Mywifiext network.
- Enable any desired internet browser of your preference and enter the mywifiext.net address bar or 192.168.1.250.
- Mywifiext login page of the extender will be shown.
- Tap the WIFI range button for the extender.
- Just choose the WIFI network that you’d like to upgrade to. Once done, click on the Next button.
- Join the network key on the Netgear AX1800 range extender setup account tab, then push the NEXT button.
- Insert the network name ( SSID) and security settings you like, and then select NEXT.
- Link the devices designed for your WIFI to your Mywifiext setup and click Proceed.
Still facing issues or problems while setting Netgear EAX15 extender setup to contact our highly experienced experts using the toll-free number and they will help you in solving the extender issues quickly.