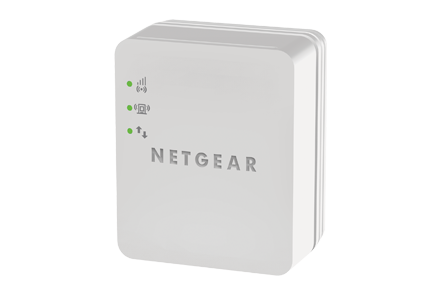
- Plug the router and the Netgear WN1000RP into an electrical outlet close to each other.
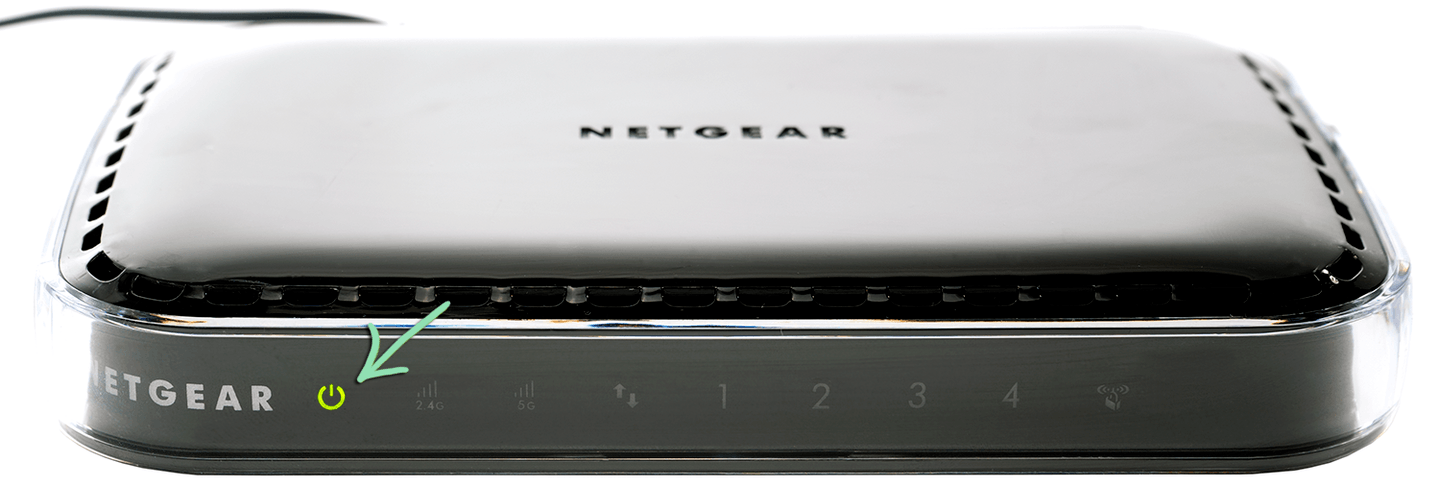
- Use a wireless network on a wired or wireless system to connect to the SSID network until the light status on your WN1000RP is solid green.
- The light will turn solid green once the connection with your wireless device is recognized. Then, you can attach the WiFi booster to your network.
- Next, all you have to do is open an internet browser and type www.mywifiext.net in the address bar.
- It will take you directly to the setup page on-screen.
- The above-mentioned website and IP address still allow you to customize your WiFi booster settings. But the necessity is that you need to be connected to your network of Mywifiext.
- Select the main WiFi router name and hit Continue.
- Again, after typing the network key, click on Proceed.
- By filling all the credentials and then hit Proceed, add all the extender settings.
- You can change your current network’s wireless settings as well.
- On the Netgear WN1000RP, add the settings.
- You can connect your wireless devices to the recently developed wireless network once the settings have been successfully implemented.
- Once linked, search the box adjacent to ‘My wireless devices are linked to the Netgear extender setup.
- Press the continue option.
- The Internet is ready for you to use now. Select the finish and access the internet.
- Hence your Netgear WN1000RP completely installed. In, case you still face issues contact our highly experienced experts.
Netgear WN1000RP setup using the WPS method:
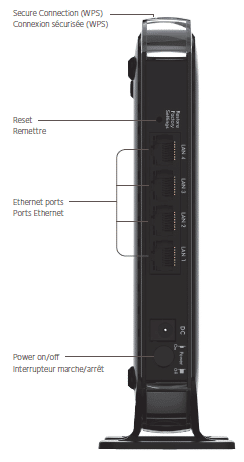
By pressing the ON / OFF button located on the side panel of your Mywifiext, plug your Netgear WN1000RP extender into an electric socket and wait for the LED lights on the extender to turn solid green.- Push the button for WPS.
- Push the WPS button on your wireless router within one to two minutes.
- The confirm the details LED will become available once the connexion between both the devices (router and extender) is recognized.
- When a wireless system is connected to the Netgear extender setup, the WiFi light booster system is turned on.
- No need to get hyped or irritated if you are still interested in troubleshooting the two processes above and have not been set up. All you need to do is just grab your phone and call us now on our toll-free.