How to activate access control on a Netgear wifi extender?
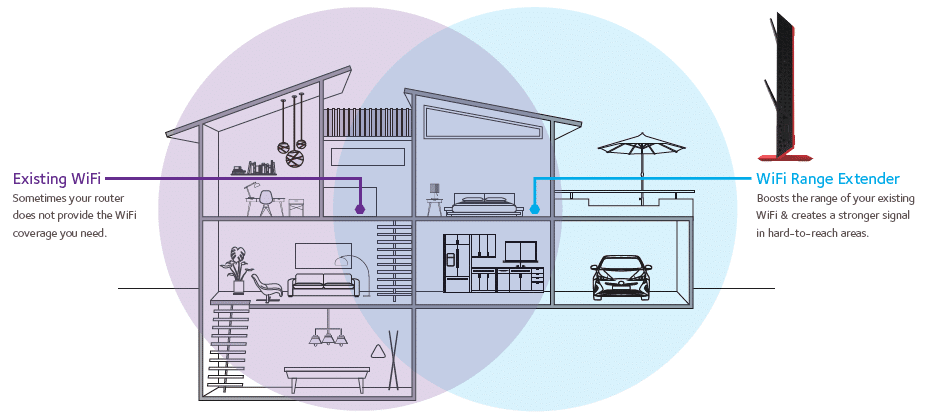
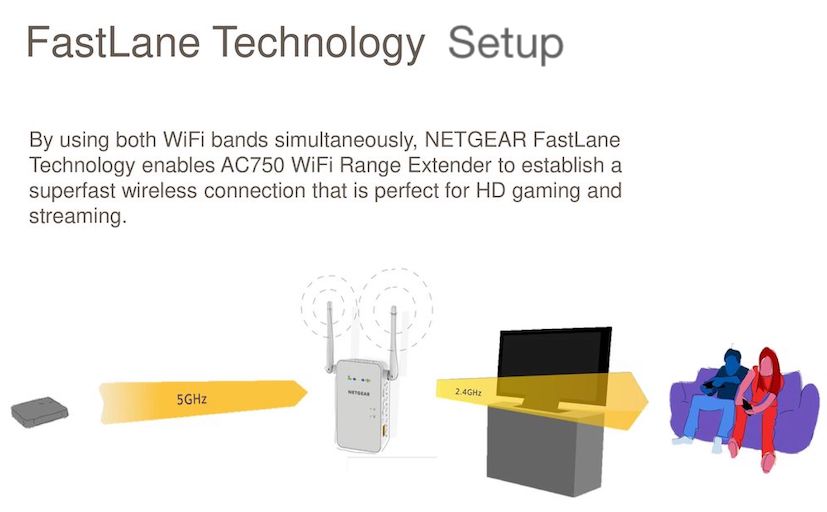
Access control is a security method that limits who or what can access resources in a computing environment. It is a fundamental idea in security that reduces risk to the company or organisation. With the help of a number of capabilities, Netgear extender users from all over the world have been safeguarding their wireless networks. If you are worried about the security of your network, you are likely taking comparable steps and exploring for additional features to complement your efforts. As a result, you can encrypt your network in addition to hiding the SSID and changing the wifi password of Netgear wifi extender by using Netgear Extender Access Control.
Please follow these instructions to enable Netgear Extender access control:
- First, join the wireless network of your Netgear Extender with your computer or mobile device.
- The IP address of your Netgear extender should now be entered in the address bar of the web browser that is now open on your device. Typically, the IP address defaults to 192.168.1.250.
- Input the Netgear extender’s login and password. Typically, “admin” is used as the default username and “password” as the default password.
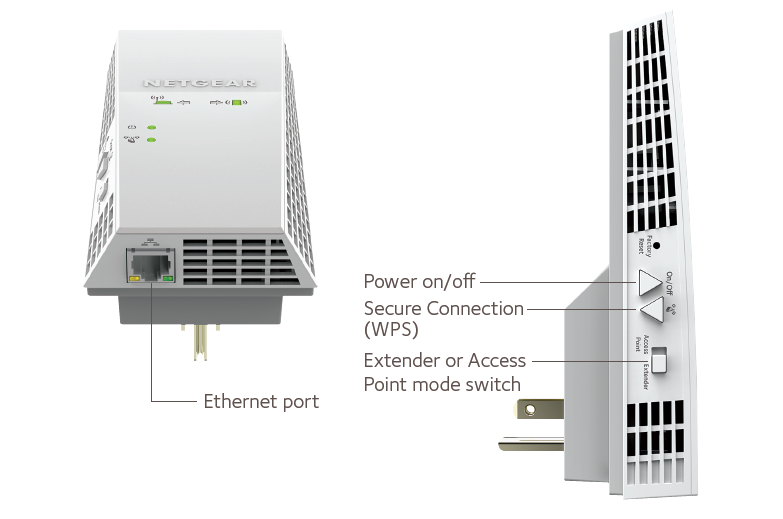
- After logging in, go to the “Access Control” menu by selecting it from the menu bar. This selection must be present in the menu on the left.
- Activate Access Control: To activate Access Control, select “Enable Access Control” from the drop-down menu.
- Now that your Access Control settings have been configured, you can change them. You can opt to establish time restrictions, parental controls, and whether to allow or block particular devices.
- When you’re through configuring your Access Control settings, make sure to click the “Apply” button to save your changes.
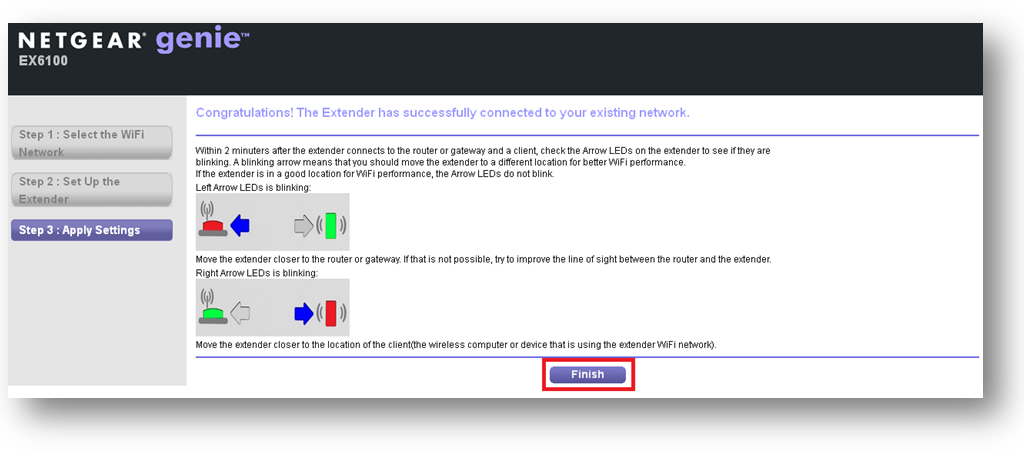
On your Netgear Extender, Access Control has been successfully enabled.
How to Upgrade Netgear Extender Firmware
Follow these procedures to update the firmware on your Netgear Extender:
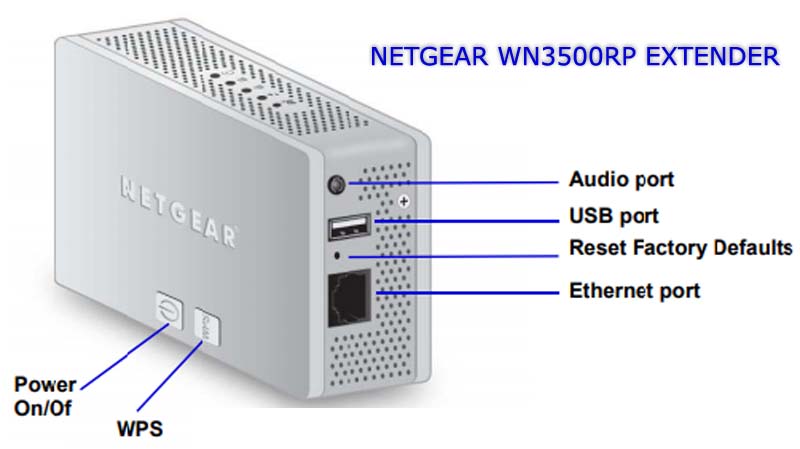
- Use an Ethernet wire to link your Netgear Extender to your PC.
- The default web address of your Netgear Extender i.e. mywifiext.net should be entered in the address bar of any web browser that is open on your computer.
- Use your login and password to access your Netgear Extender by pressing the Enter key. Use “admin” and “password” as your default username and password if you haven’t changed them.
- After logging in, go to the top right corner of the screen and click the “Settings” option.
- Choose “Firmware Update” from the drop-down menu.
- To see whether there are any firmware upgrades available, click the “Check” button. If there is an update available, click “Download” to get the firmware file.
- To upload the Netgear Extender firmware file after it has been downloaded, click the “Upload” button.
- Wait for your Netgear Extender to download and install the firmware. The process could take a few minutes, and your extender will reboot.
- Re-login to your Netgear Extender to verify the firmware upgrade was completed after it has finished.
Access Control Problems with the Netgear Extender
You can limit access to your wireless network by using Netgear Extender Access Control, which is a handy security feature. There are a few frequent problems, nevertheless, that you could run into when using Netgear Extender Access Control. You should follow the troubleshooting steps:
- Make sure your router is linked to your Netgear Extender: Not the extender, but the router’s settings control access. Before attempting to enable Access Control, make sure the extender is connected to the router.
- Make sure your Netgear Extender is running the most recent firmware by updating it. On the Netgear website, you may look for and download firmware upgrades.
- Use a compatible browser; otherwise, Netgear Extender Access Control settings might not function correctly. To configure Access Control, use a compatible browser, such as Chrome or Firefox.
- Disable MAC filtering: Access Control might not function properly if MAC filtering is active on your router. Before attempting to configure Access Control, disable MAC filtering.
- Correctly configure the access control settings: Make sure the Access Control settings are set up appropriately. To properly set up the settings, refer to the Netgear Extender user manual.
- Restart the router and the extender: Restart the router and the extender after configuring Access Control. This will guarantee that the modified settings are applied.
Let’s fix problems with Netgear Extender Access Control
The steps listed below can be used to resolve access control problems with Netgear Extender:
- Make sure your Netgear extender’s firmware is current by checking the version number. Logging into the admin interface of your extender will allow you to check for firmware updates.
- Set your Netgear extender back to the factory defaults. This can be done by pressing and holding the reset button on the back of the extender for at least 10 seconds.
- Reconfigure the extender and establish access control rules after it has been reset. By login into the extender’s admin panel and going to the access control area, access control rules can be configured.
- Verify the access control settings are set up properly. Make that the devices listed in the appropriate sections are the ones you wish to restrict or allow.
- Try turning off and turning on access control again if you are still having problems. Toggle the feature on and off by going to the access control section of the extender’s administrative panel.
- Try factory resetting the extender and starting the configuration procedure over from scratch if the problem still exists.
If you still have questions about Netgear Extender Access control, please contact our experts by live chat or our toll-free helpline number.