Netgear AC750 Setup
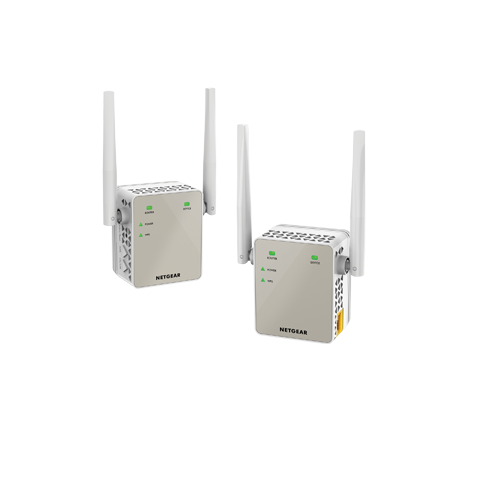
Netgear AC750 is the series of wifi range extenders which comes with the simultaneous dual band 2.4Ghz and 5Ghz technology. It can deliver the max speed upto 750Mbps which leads to reduce the interference in your network.It comes with two wifi modes and two antennas for better wifi network coverage. After you perform Netgear AC750 Setup you will be able to use your extender in two different modes.You can use it to extend your existing network and you can also use it to create a new Access point as well. Let’s go with the setup process.
For Netgear AC750 Setup follow the instructions given below:
- Power on your Netgear AC750 EX3700 extender.
- Place it closer to the home router.
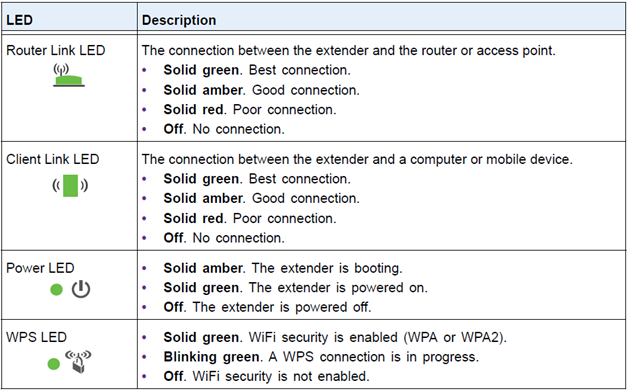
- Wait until the power LED on your AC750 turns solid green.
- Now you need to grab any mobile device.
- Connect your wifi enabled device to the existing network.
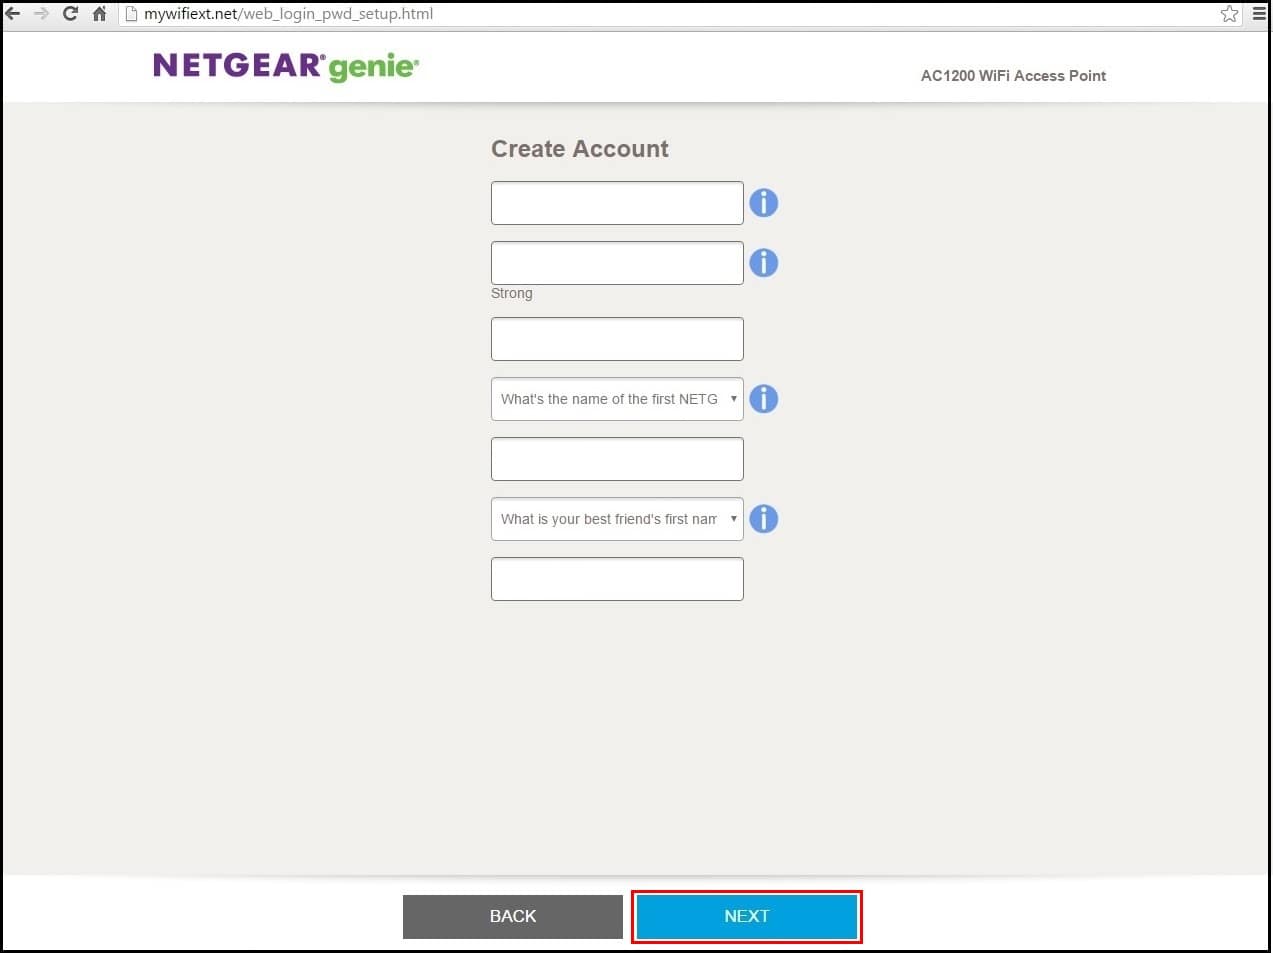
- Open a web browser and visit www.mywifiext.net.
- Go to the New Extender Setup.
- Follow the on screen prompts to finish the setup process.
- Once it is done,unplug the booster and plug it between the dead zone and your wifi router.
Table of Contents
That’s how you can setup your Netgear AC750 manually. But a manual method is not only one way to setup your booster, You can also configure it with the WPS Setup. In the next blog we will discuss the WPS method to configure your repeater.
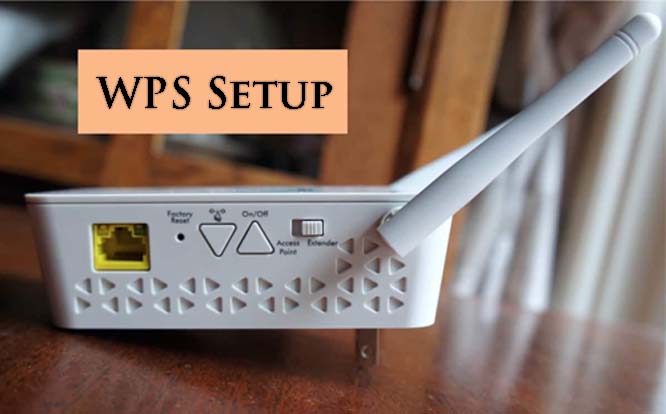
Netgear AC750 WPS Setup
Let’s get introduced with another way to setup your Netgear AC750 i.e the Wireless protected setup (WPS) which is considered as the quickest procedure to configure your repeater. Netgear AC750 WPS Setup will not take more than 2-4 minutes to be performed. Let’s see how this setup is supposed to be done.
Here are the steps to do Netgear AC750 WPS Setup:
- Power on your Netgear AC750.
- Position it near to the existing router.
- Wait until the power LED on your AC750 gives solid green light.
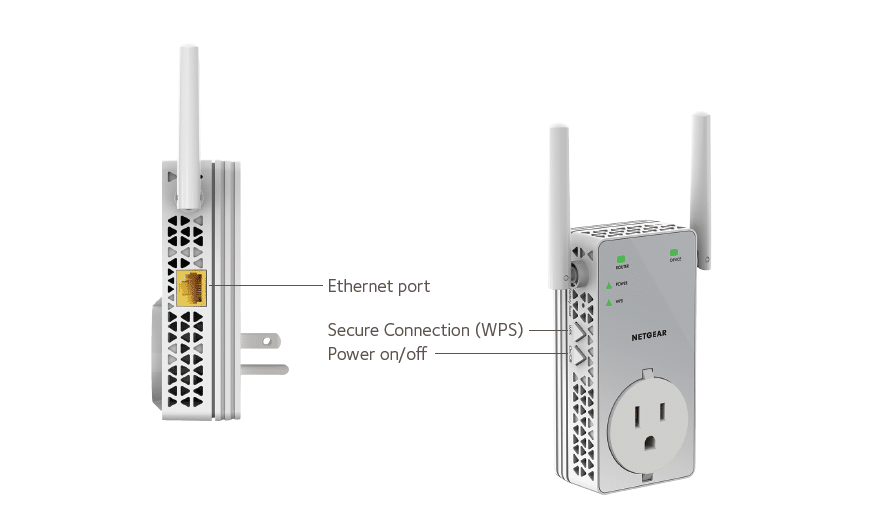
- Press the WPS button on the booster.
- Also press the WPS button on the main router after a minute.
- When your booster gives three solid green lights,which means that you have finished the setup process.
- Now it’s time to unplug your AC750 and place it at the location having dead spots.
That’s how you can install your Netgear EX3700 setup on login page of mywifiext.net within two minutes only without entering any personal information like passphrase,username and SSID.In the next blog we will talk about the procedure to update the firmware on your extender.
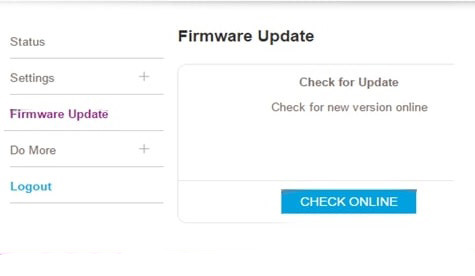
Netgear AC750 firmware update
Have you been facing problems with the performance of your extender or is it behaving badly? If yes then you need to update the latest version of the firmware which is provided by NETGEAR. After you perform the Netgear AC750 firmware operation on your booster you will get the latest features and security updates which helps you to improve the performance of your AC750 and to fix bugs as well.
For Netgear AC750 firmware update go through the steps given below:
- Firstly turn on your Netgear AC750 by plugging into a power socket.
- Place your repeater and existing router close to each other.
- Open any web browser and go to www.mywifiext.net.
- Type your username,passphrase and SSID to login.
- Hit on settings option and then on firmware upgrade.
- During the update process do not unplug your AC750.
By following these steps you will be able to update the latest version of firmware on your Netgear AC750. In the next blog we will talk about the factory reset operation.
Netgear AC750 reset
In case you are not able to remember your admin password or your username and you want to recover it then, you will have to go with the Netgear AC750 firmware update process. After you perform a factory reset operation on your extender it will delete all the personalized data including your password,username and SSID also and it will make your extender ready for the new installation process. So Let’s go with the reset operation.
Here are the steps to reset Netgear AC750:
- Turn on your Netgear AC750.
- Find the reset button on your extender.
- It is available on the side of the AC750 under a small hole.
- Grab a sharp pointed needle or a pin.
- Press the reset button with the help of a pin for 10 seconds.
- After 10 seconds take it out.
- In this way you have performed the factory reset operation successfully.
In case you are facing any trouble regarding the setup,update or reset operation you can reach us by sailing our toll free number and also via live chat. Our technical team will help you to resolve your issues.