NETGEAR EX7500 SETUP | AC2200
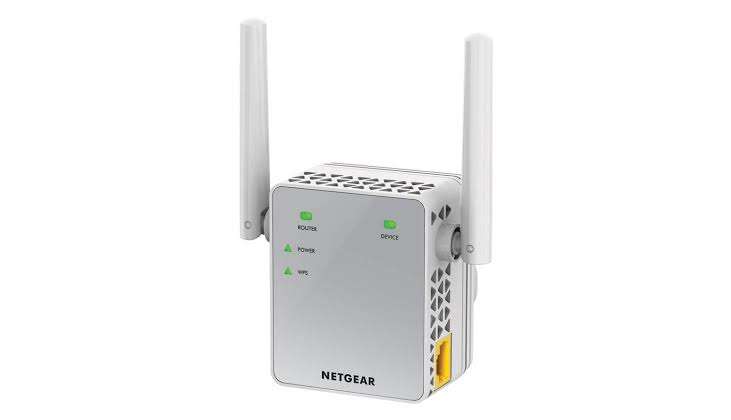
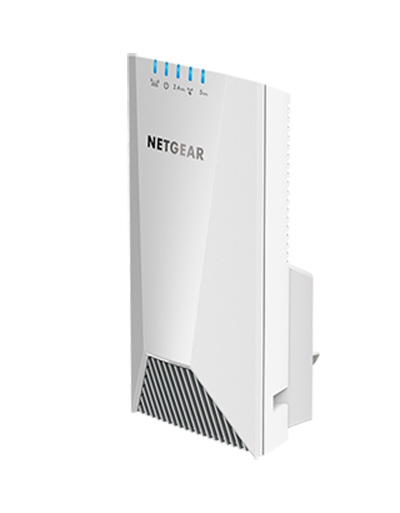
NETGEAR EX7500 Setup: When it comes to wireless mesh extenders, nothing can beat the competency of the Nighthawk X4s AC2200. It is a tri-band extender that provides you an amazing internet speed with a great signal. With this device, you can enjoy a highly reliable connection to the internet all around your house.
Moreover, this device is also highly effective for dead zones as well. All you need to do is complete the process of Netgear AC200 Nighthawk X4S Setup and then you can notice a great WIFI boost in your existing internet connection.
Due to the FastLane technology, its coverage area can be extended for up to 1500 square feet. Furthermore, it also provides other features like smart roaming, mobile application, and better performance.

NETGEAR EX7500 Extender Setup
Therefore, let us have a look at the step by step process for How to setup Netgear EX7500 with the manual method:
- Firstly, plug in the Netgear EX7500 extender to the power socket.
- Once you have the power led light on the AC2200.
- Take a wireless device and connect to the default network "NETGEAR Ext"
- Now launch a web browser and type mywifiext.net in the search box and press ENTER.
- You are now on the Mywifiext Login page.
- Follow the prompts for installing the booster to the existing home network.
For more information and troubleshooting:
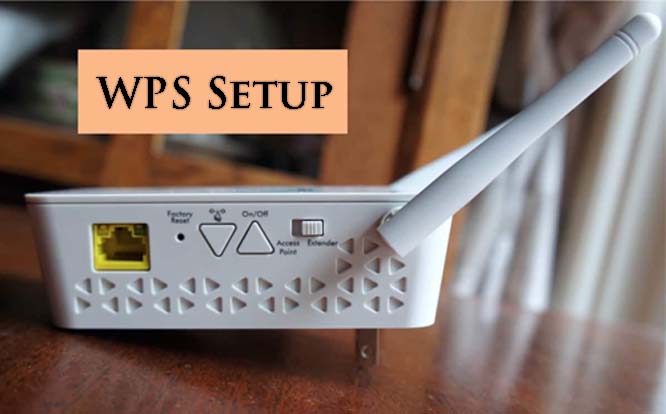
Netgear EX7500 Setup: WPS Method
In order to perform the Netgear EX7500 WPS setup process allows you to set up your WiFi range extender within two minutes only. This is the simplest way to configure your EX7500. If your router doesn't have a WPS button, you'll have to set up your Netgear EX7500 in another way. Other options can be found in the following article.
- Turn on your Netgear EX7500.
- Place your booster just near to the main router.
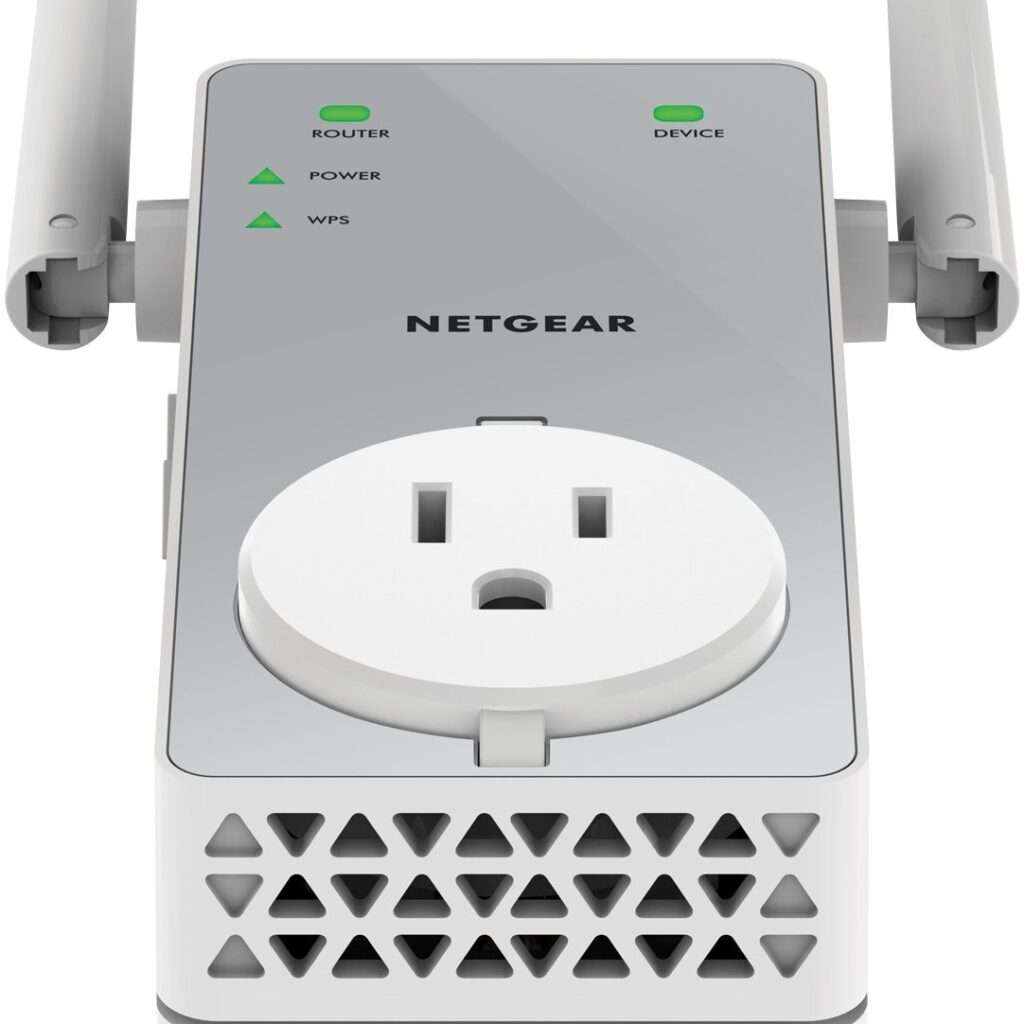
- Wait for the extender’s LED to turn solid green.
- 0n the AC2200,press the WPS button.
- After a minute press the WPS button on the router.
- Move your repeater to the location where you want to extend the network.
- Now you can connect your wifi enabled smart devices to the extended network.
If the LEDs on the AC2200 EX7500 turns stable white,which means that the connection between your range booster and home router is good.
Note: If you still have any query about Netgear EX7500 Setup by WPS method,you can dial our toll free numbers or via live chat. Our professional technical team will help you to fix your query.
Note: In case you still have any problems with the setup process you can call us on our toll free numbers and also via live chat. Our technical team is always there to help you in any trouble.
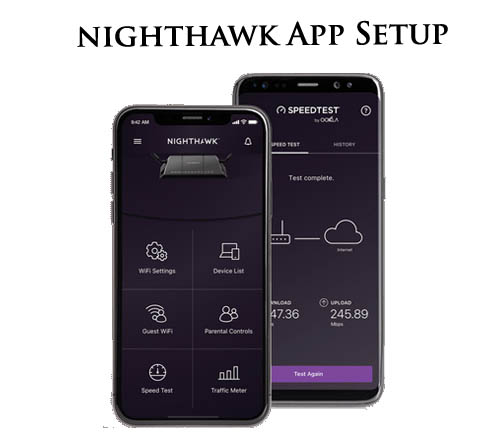
How to setup Netgear Nighthawk EX7500 wifi extender?
Let’s get introduced with one of the most demanding wifi range extenders. Nothing can compare to the Nighthawk X4s AC2200 when it comes to wireless mesh extenders. It's a tri-band extender that boosts your internet speed while maintaining a strong signal. You may have a highly dependable internet connection all over your house or office with this amazing gadget.This device is also quite effective in dead zones. All you have to do now is complete the Netgear AC200 Nighthawk X4S Setup process, and you'll notice a significant improvement in your current internet connection. Its coverage area can be expanded up to 1500 square feet thanks to FastLane technology. It also has other features like smart roaming, a mobile application, and improved performance.
To setup Netgear Nighthawk EX7500 follow the instructions below:
- Unbox your Netgear Nighthawk EX7500.
- Turn it on by plugging it into a power socket.
- Place the AC2200 near the router.
- On your EX7500,wait for the power LED to turn solid green.
- Get a wifi enabled smart device.
- Go to www.mywifiext.net.
- Now you can see the Netgear installation assistant page.
- To proceed ahead follow the on screen instructions.
- Move the extender to the place where you want to extend the network.
- ow you can connect your wifi enabled devices to the extended network.
How to reset Netgear Nighthawk EX7500?
Have you lost or forgotten your admin password? Are you searching for Netgear Nighthawk EX7500 Reset? If yes then you are reached at the right place.In this blog we will guide you about how you can perform the factory reset operation in the simplest way.
Here’s the steps to perform factory reset operation:
- Grab a pen, paper clip.
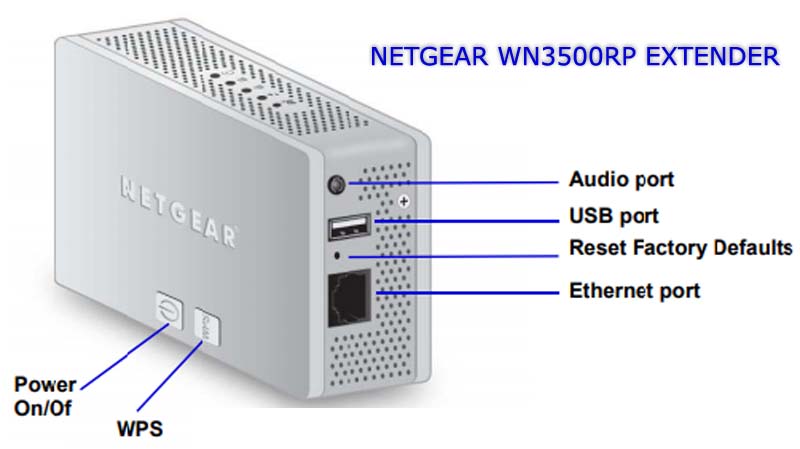
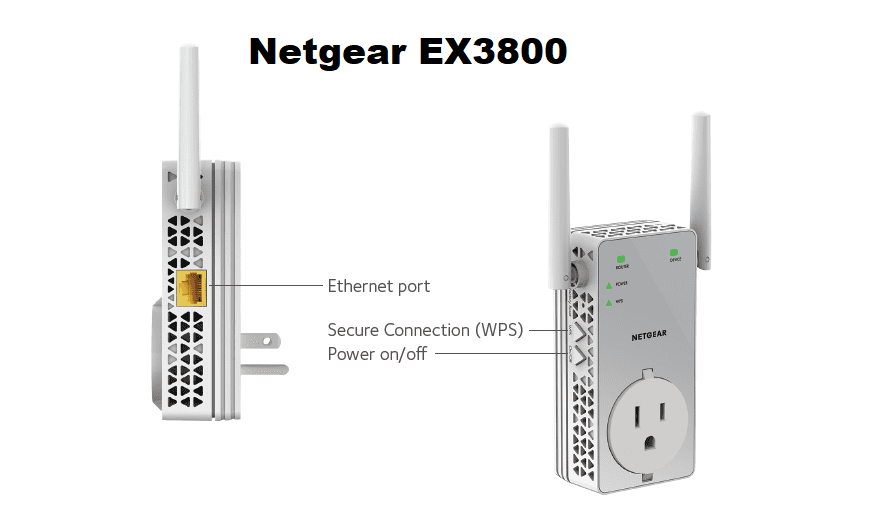
- Locate the factory reset button on your Netgear EX7500.
- It might be on the backend or at the bottom of your AC2200.
- With the help of a pen or a paper clip,hold and press the reset button for 8-10 seconds.
- Now reboot the repeater once.
- Your extender will go back to the default factory settings after reboot.
Netgear EX7500 Extender Setup Issues
Common issues of Netgear EX7500 Extender Setup:
- Mywifiext.net is not operating properly.
- No internet even after I connected to the booster..
- IP Address connecting issues.
- Forgot the extender’s default password
- Incorrect Mywifiext.net password
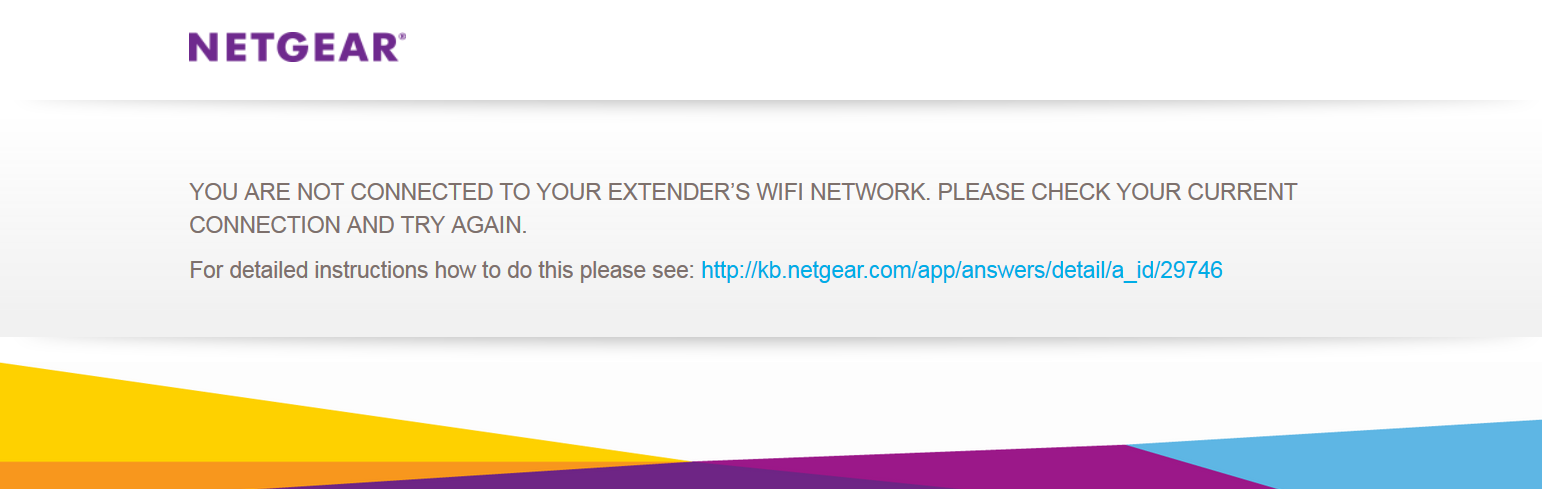
- Can’t connect to Mywifiext.net
- Can’t login to Netgear new extender setup page
- Netgear Genie setup is not working.
- Extender lights are not stable.
- The extender is not functioning conveniently.
Netgear EX7500 AC2200 | Firmware Update
Is your Netgear EX7500 Tri-band Nighthawk X4S is not giving the right speed even after the successful installation? Not to worry, sometimes updating the latest firmware version will resolve this issue.
So in the below-given instruction, we talk about detailed info about how to access the Netgear Nighthawk Login page to update the X4S firmware:
- To login into Netgear EX7500, make sure your WIFI device is connected with the extender network.
- Now open any web browser and type mywifiext.net into the address bar and tap enter.
- The user will be redirected to the Netgear AC2200 Nighthawk login page.
- Enter your default login details and sign in to your account.
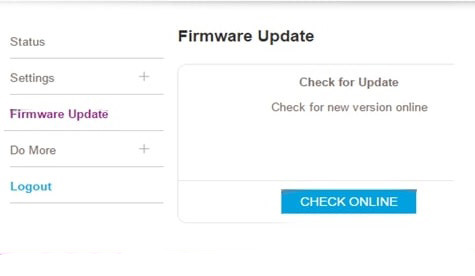
- Go to the settings option and click on the “Firmware Upgrade” option
- Now hit on the check button and wait for 5-10 seconds.
- It will then displays the new version of your booster.
- Click on “YES” and now wait untill the version is upgrade
NOTE: If you are still facing any problems regarding the firmware update then you can contact us on Mywifiext.net.