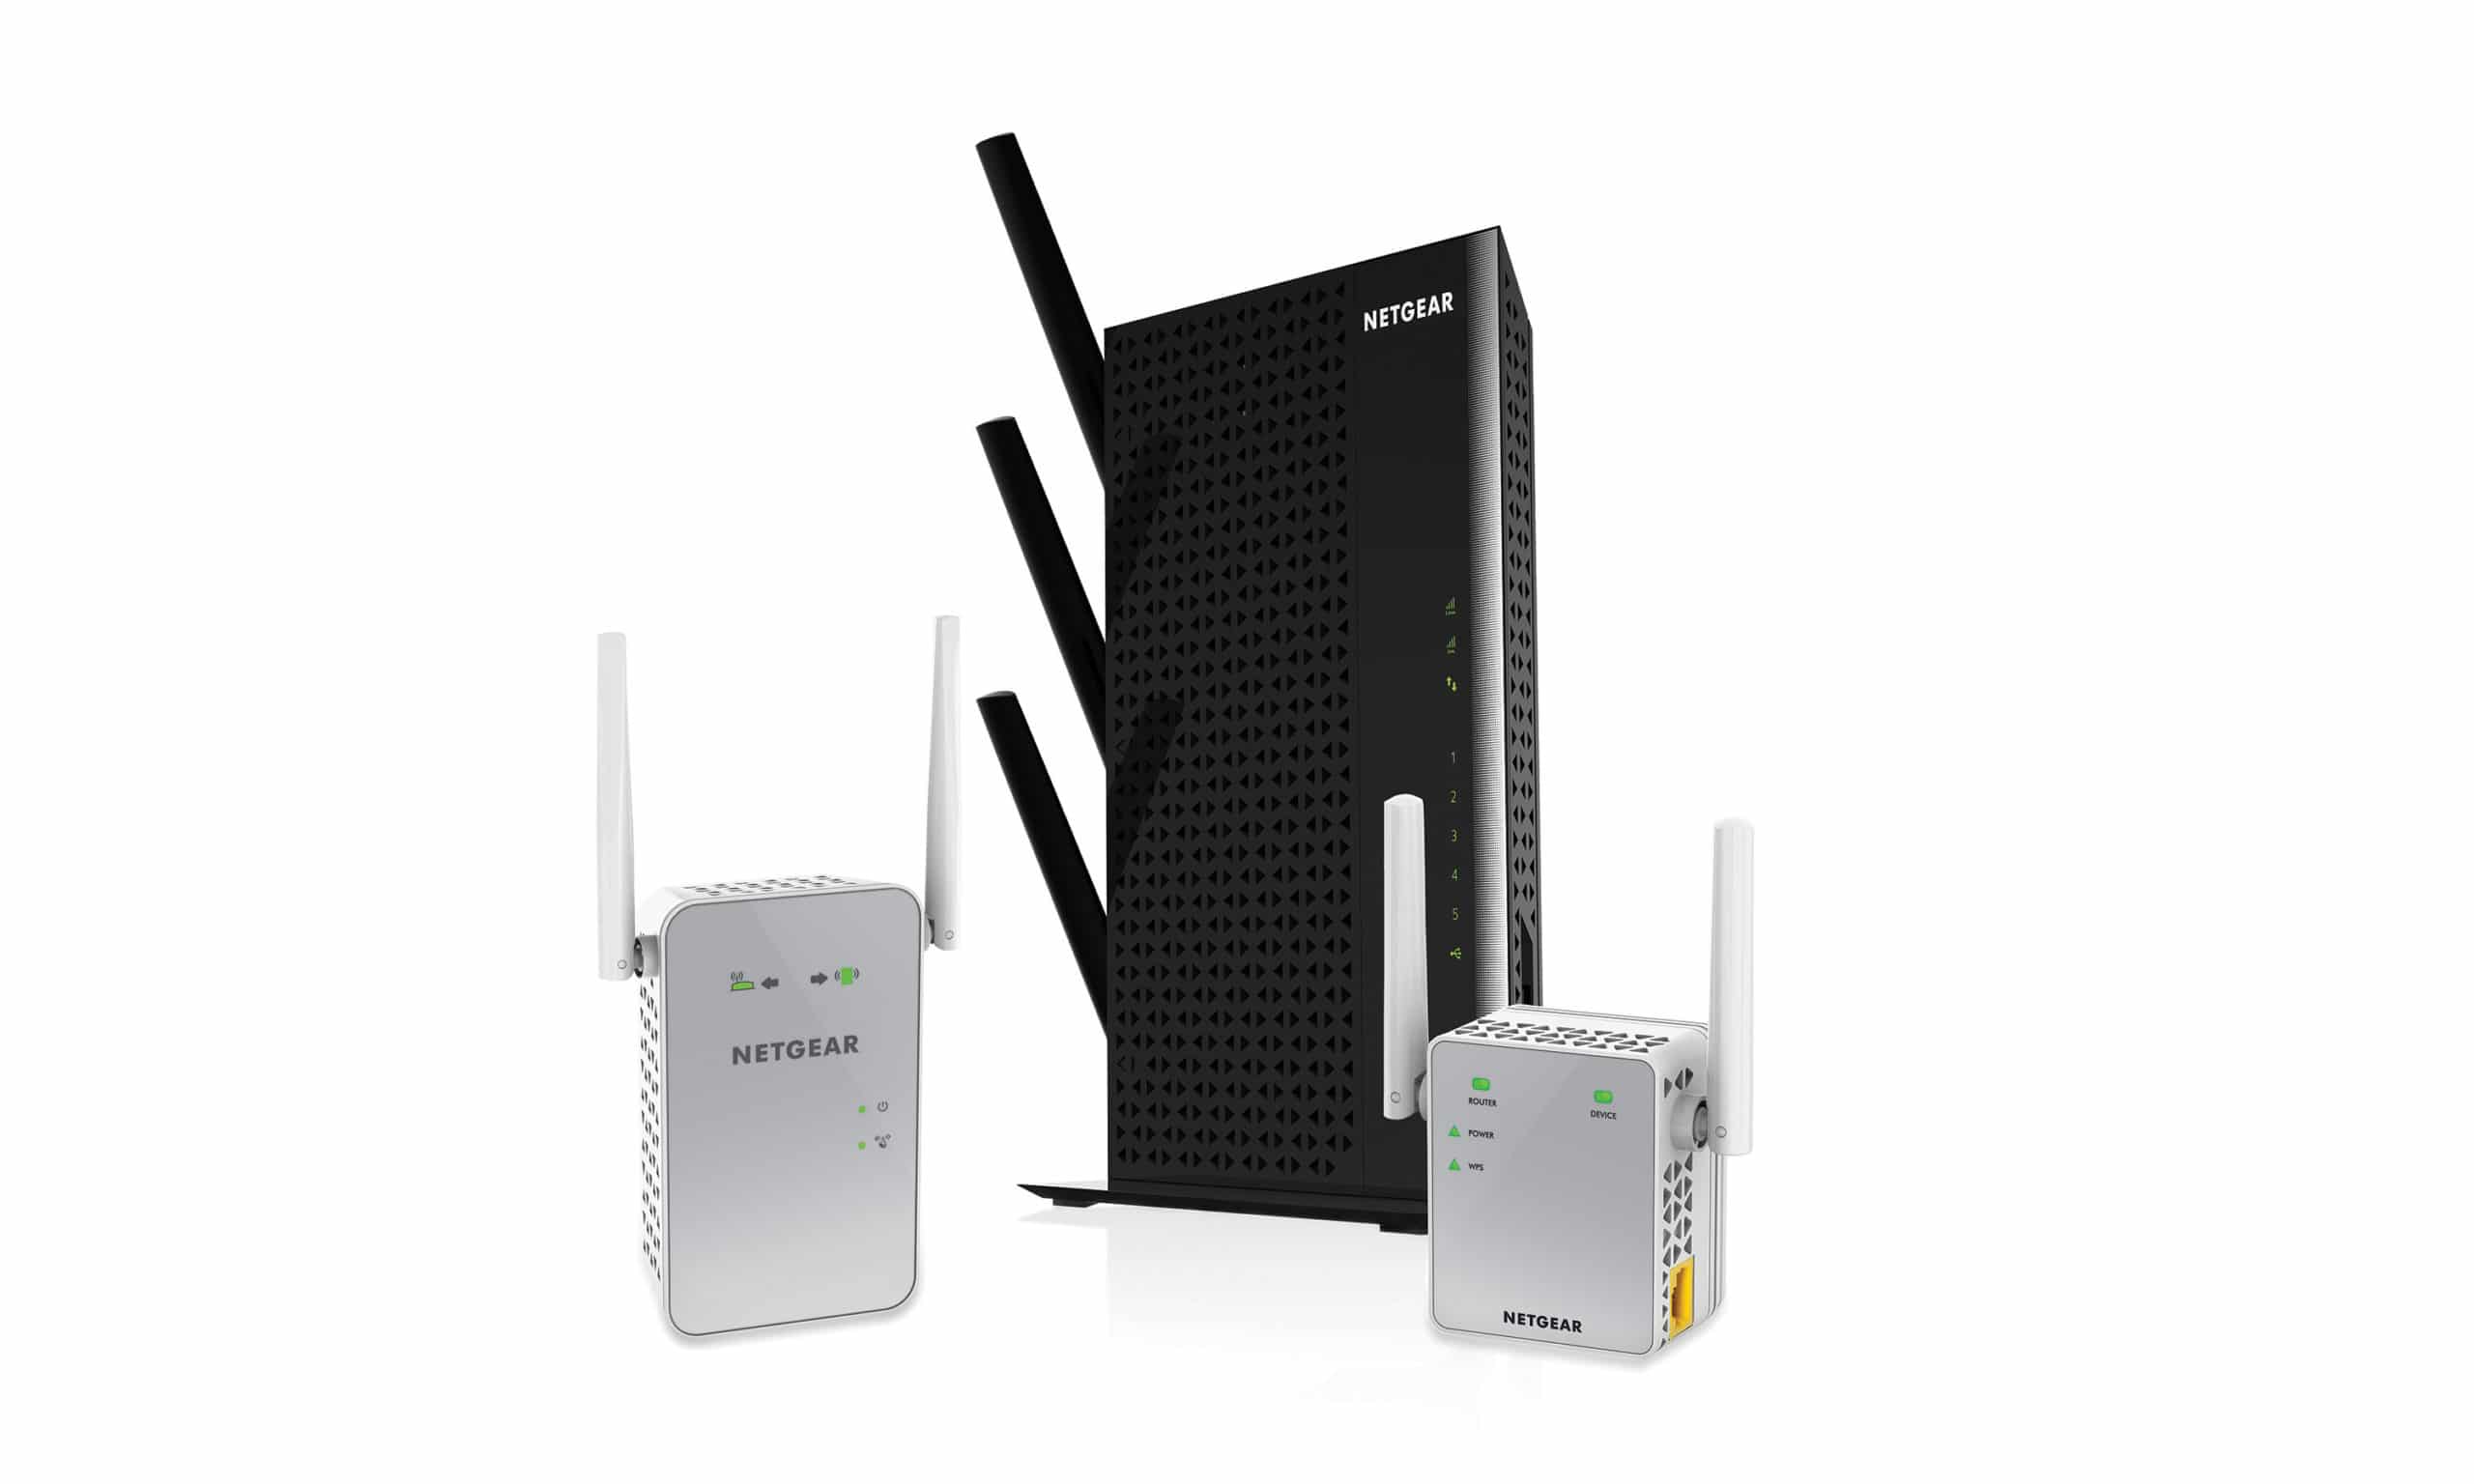
Netgear AC1750 extender is observed as par excellence when we chat about extenders. This extender provides you boosted signals to the dead areas of your home or office. This Netgear Extender setup gives you the best Wi-Fi range and performance by which you can stream full HD videos, songs, high-quality graphics games, and a lot more. Netgear AC1750 mesh extender comes dual-band of up to 1750 Mbps and Fastlane technology for HD streaming. It also provides extended Wi-Fi coverage of 1500sq.ft and can connect to 25 wireless or wired devices. This extender also has seamless smart roaming with which it uses the existing network SSID so that it never gets disconnected when you move around your home or office.
The new extender setup also offers you a speed of 50Mbps and has Universal Router compatibility. So, let’s induce the process of installation.
Guide to install Netgear AC1750 extender:-
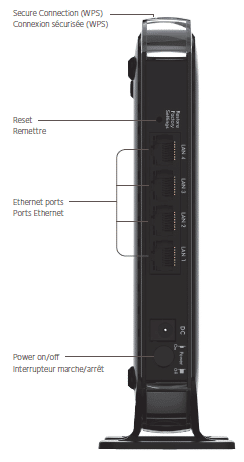
- First of all, turn on your Netgear AC1750 extender and place your extender closer to your main Wi-Fi router.
- Then, plugin your extender into the working power outlet and make sure that it gets a full power supply.

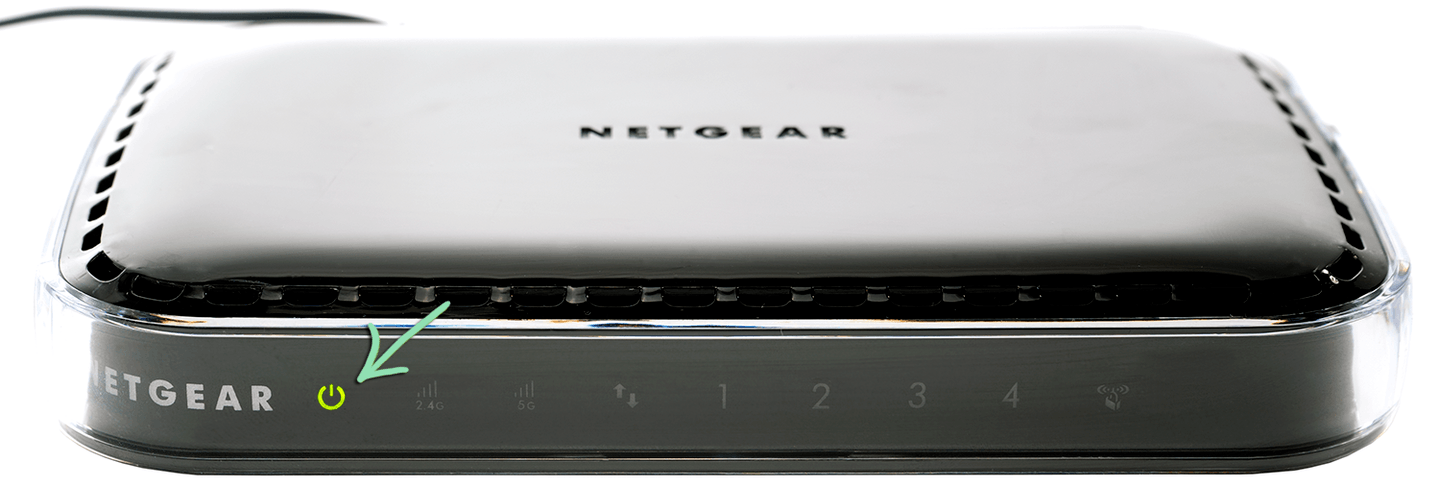
- And then, wait until the Power LED light of your extender turns green.
- Connect your Netgear AC1750 extender with your main Wi-fi router. Then open the desired web browser on any of your devices and add mywifiext.net in the URL bar.
- Moreover, they will ask you for login credentials and add username and password and follow the instructions mentioned on-screen, and move forward.
- Then, connect your Netgear extender set up with your main Wi-Fi router. And move your extender to the new place or location.
- If you face no connection or poor connection place your Netgear extender close to the router unless the status of the LED light turns White.
- After finding the desired area with poor signals of the router, connect the other user’s devices with the existing wi-fi network.
If still, you are unable to install the Netgear WiFi Mesh Extender with mywifiext setup reach out to our highly qualified experts they will solve your queries within a matter of minutes.