Installation steps to setup Netgear router via routerlogin.net
The first to announce the world’s fastest wireless router is NETGEAR. A broad range of technologies such as Wi-Fi and LTE, Ethernet, and powerline are provided by Netgear devices. They concentrate on accuracy and ease of use. Netgear routers can be configured in different ways. You can also use your wireless laptop, tablet, or smartphone if you don’t have a device to setup a Netgear router for the first time, by following the process below to setup a Netgear router. Attach the wireless device to the Netgear wireless router, and then enable the device’s internet link.
Insert an Ethernet cable from the modem to your Netgear router’s Internet port.
Turn your modem on and wait for the lights to stabilize.
On your Netgear router, power and then wait until the led light becomes stable.
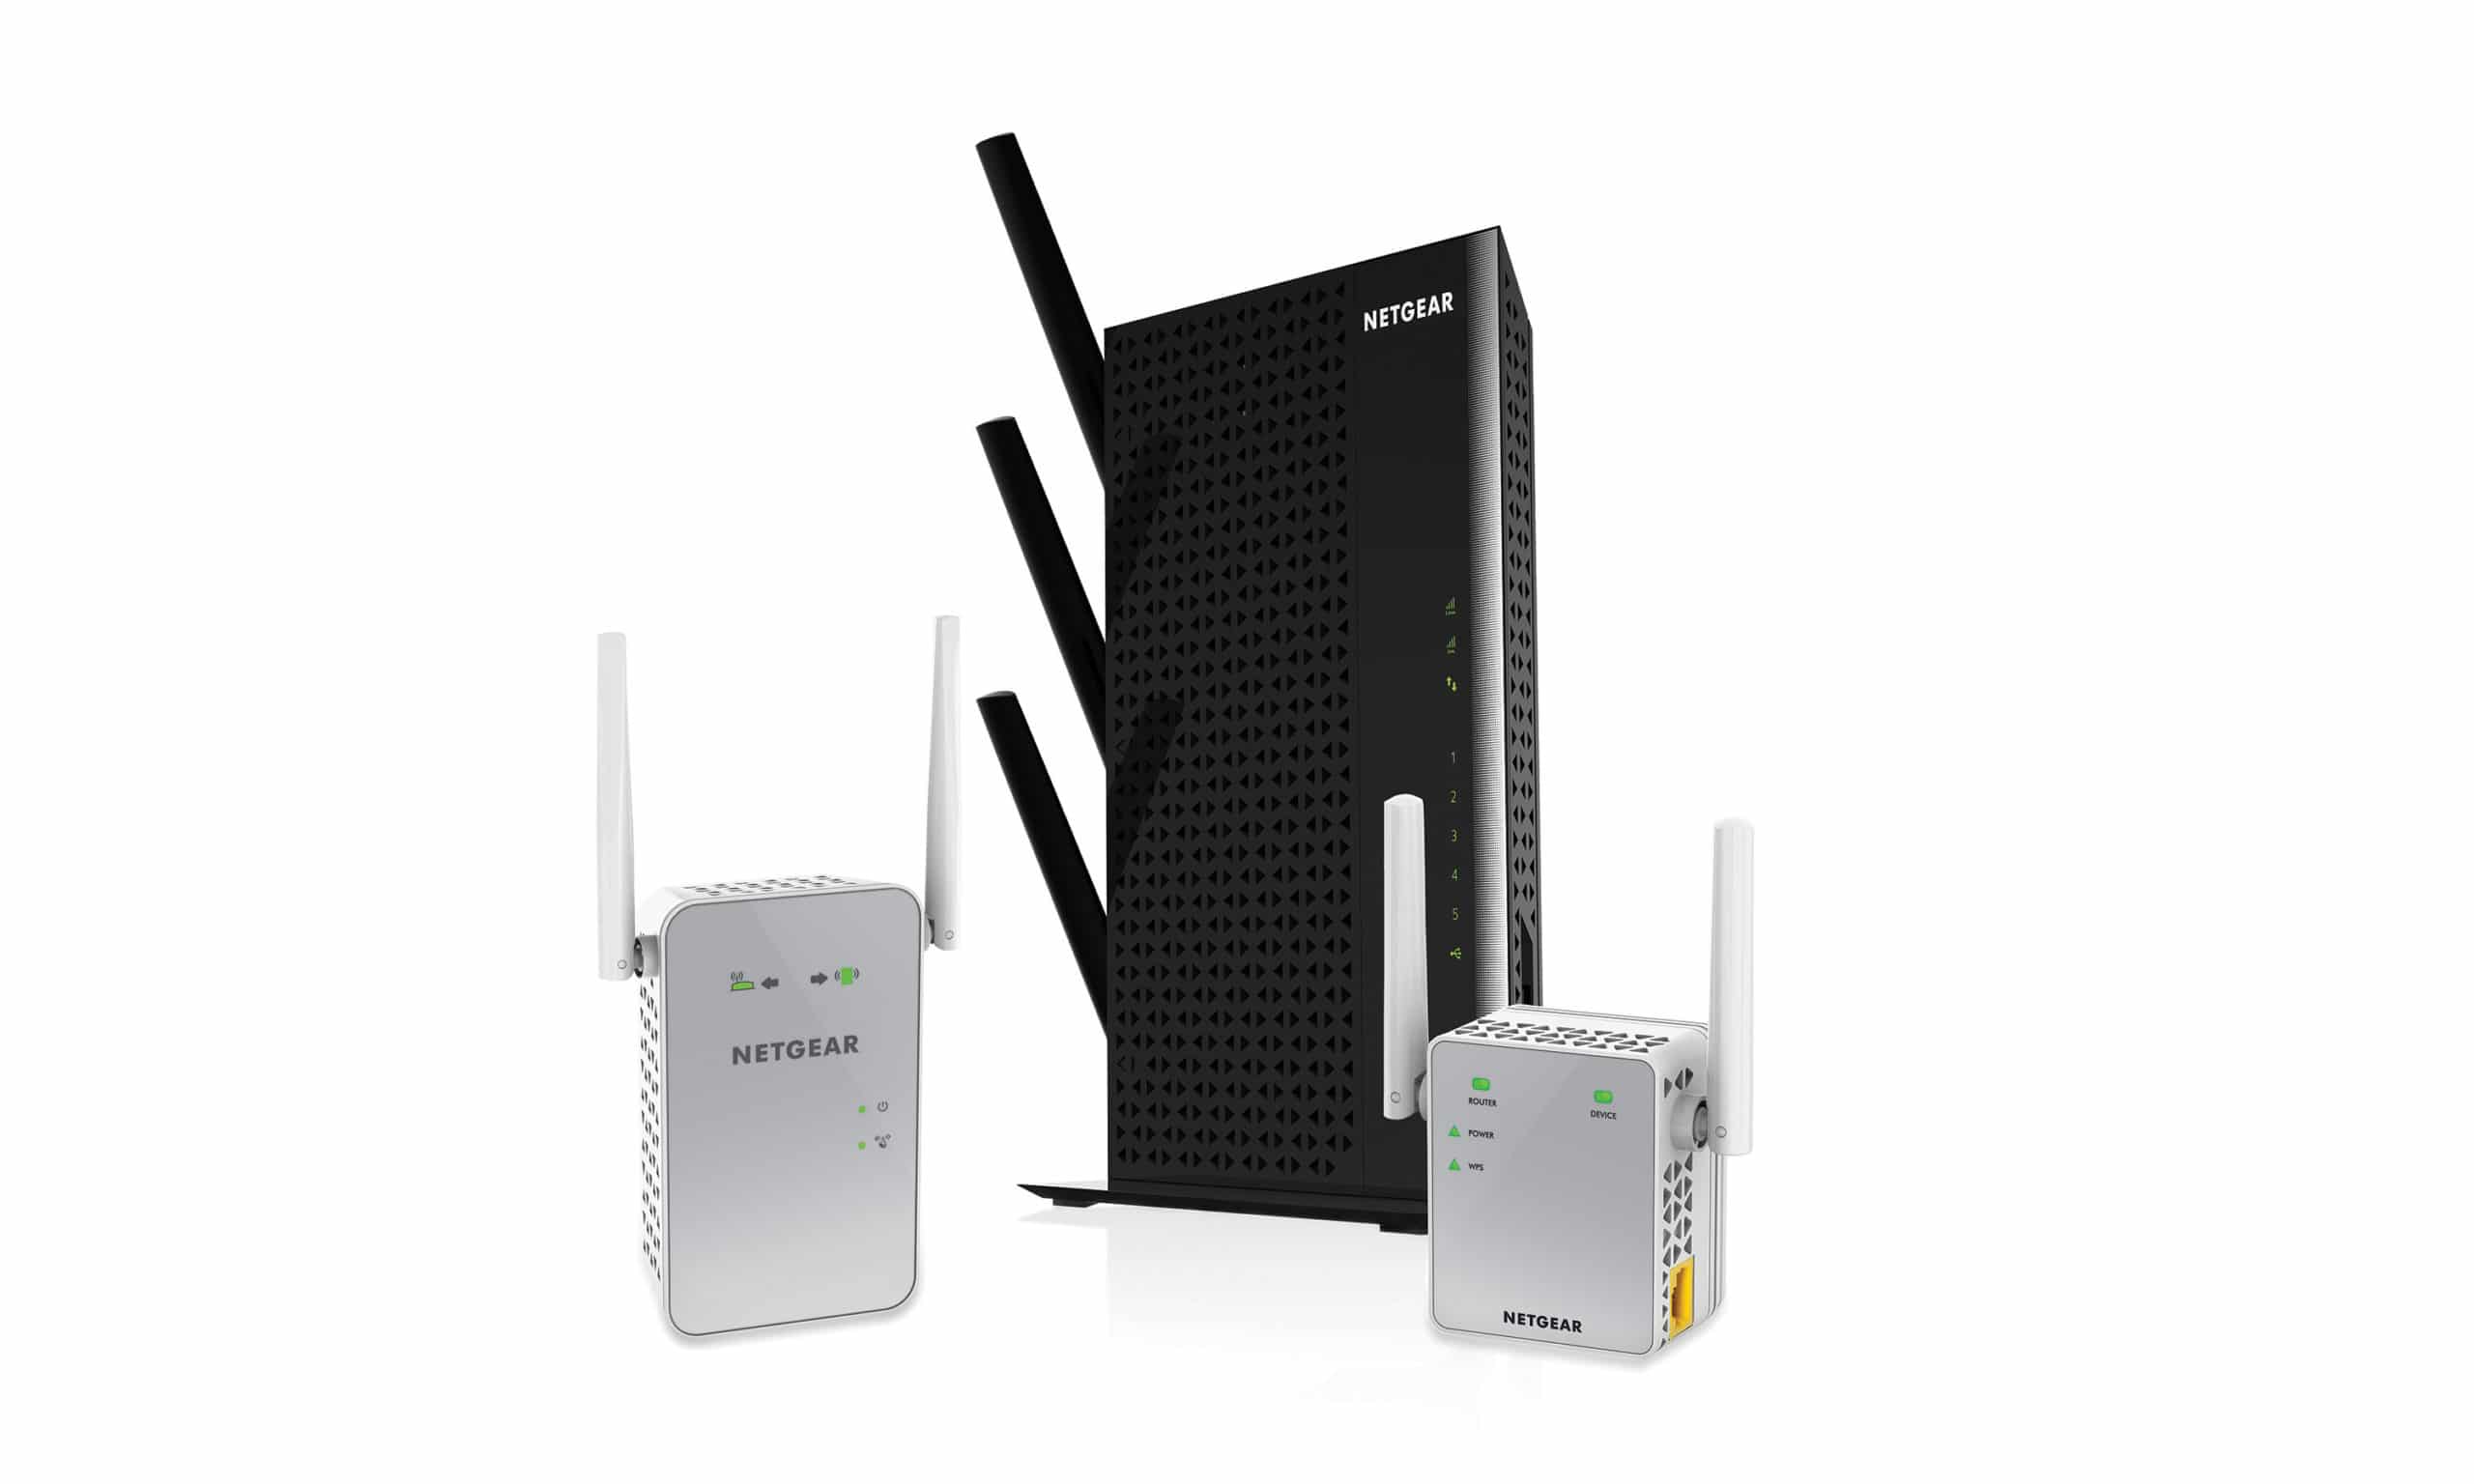
Get your Netgear router’s preset wireless settings that are written on the back or at the bottom of the unit.
Open the Wi-Fi Link Manager on your wireless computer and find the name of the setup Netgear router’s network.
When prompted to connect, click on your network, and enter the pass-phrase.
Such as Internet Explorer, Safari, Mozilla Firefox, or Google Chrome, open an Internet browser.
Go to the address bar if the Netgear genius does not appear, and type the following link www.routerlogin.net.
The admin and password are the default credentials.
To install the system and technology on how to setup Netgear router, follow the instructions on the Netgear genie.
How to change the router’s password?
Open the window from a wireless system or computer that is linked to the router’s network to change the Netgear router setup password.
Type the login address into the address bar of the browser and view the login window. Enter the username and password of the router.
Key-in the administrator’s username and the password as the password. Select Advanced-> Administration-> Set Password on the home page.
Type once the old password, and twice the new password. To recover the password in the future, select the Allow Password Recovery checkbox.
Choose the Submit button and you can save the settings.
Connect to our professional assistance for more detail on the method of modifying the Netgear router password.
Want to install Mywifiext setup? Don’t panic! Reach out to our professional experts for the Netgear extender setup and they solve your issues regarding Mywifiext within minutes.
Install your Netgear EX6100 using Netgear installation assistant:
Plug in an electrical outlet near your current WiFi router with your Netgear EX6100.
Wait for the power LED on your Netgear EX6100 setup to turn solid green for a few minutes.
Link your monitor or laptop to the extender of your Netgear EX6100. The User Connect LED will blink once the connection with your WiFi-enabled computer is formed successfully.
On your connected computer, open a web browser.
Enter mywifiext.net or 192.168.1.250 in the web browser’s address.
A page includes the New Extender Setup.
On the extender setup page, fill in the fields and click on the Next button.
Click the button to expand the WiFi range and click the Continue button
Choose an extension of your current WiFi router’s network and press the NEXT button.
In the Network Key (password) field, type the network password, and click on the Next button.
Set your Netgear extender’s SSID and network name and press the NEXT button.
Connect your WiFi-enabled devices and press the CONTINUE button to your Mywifiext setup.
Now a message will be displayed verifying the connexion and preparation of your Netgear extender.
Tap on the button for NEXT.
To complete the Netgear EX6100 setup process, complete the registration fields, and click on the FINISH button.
Unplug your WiFi range extender Netgear EX6100 and switch it to a new position that should be about halfway between your current router and the weak WiFi signal region.
Firmware for Netgear Extender Setup:
Is your Netgear EX6100 WiFi Extender beginning to behave strangely? If yes, then immediately update the Netgear extender firmware if your Netgear extender does not provide the necessary speed even after a good Netgear extender setup. To upgrade your Netgear extender firmware:
Plug in a working wall outlet with your Netgear extender.
On a mobile or laptop, open a web browser.
In the browser’s address bar, select mywifiext.
It will show a login screen.
Refer to How do I log in to my NETGEAR WiFi Range Extender for more information?
Press the Menu icon, choose Settings, and then click Firmware Update.
If a new firmware version is available, follow the on-screen instructions provided and update the firmware of the Netgear EX6100 setup.