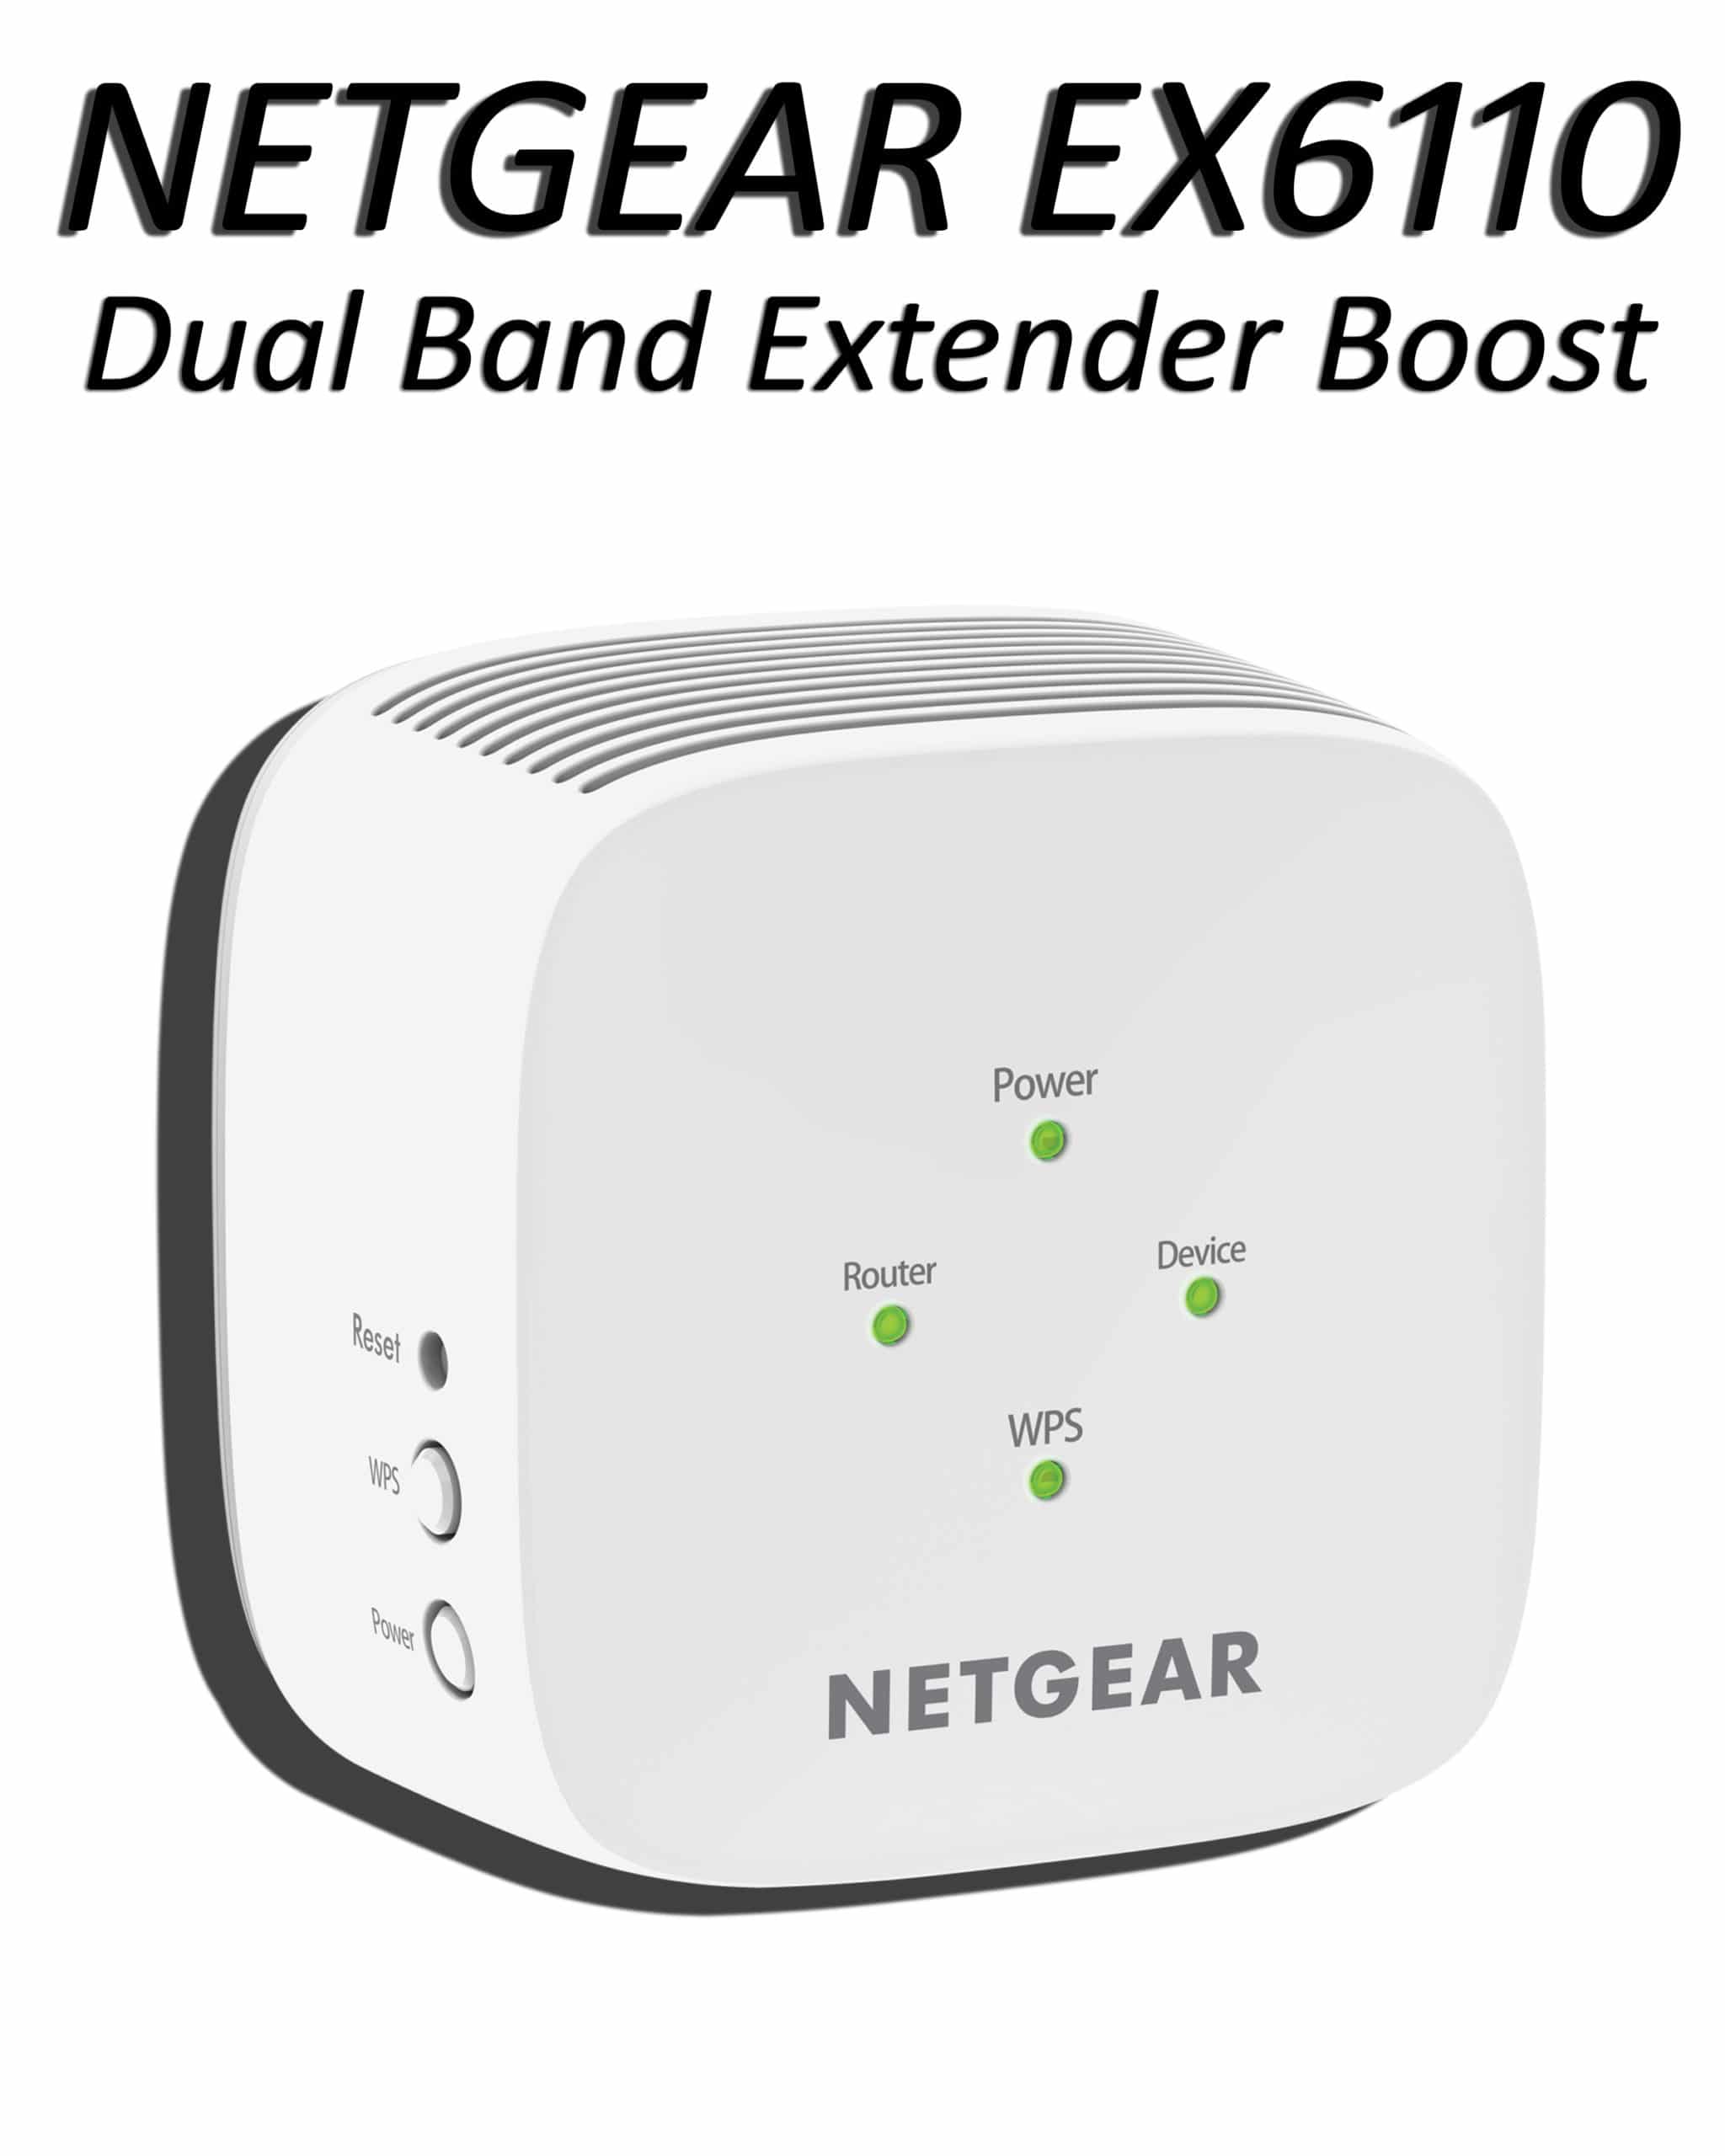
Configuration For NETGEAR EX3800 Setup Via- mywifiext.net
Wireless rates of up to 750Mbps (Megabits per Second) can significantly increase the range of your home internet connection by finalizing the Netgear EX3800 setup. FastLane technology eliminates interference caused by concurrent dual-band technology, allowing you to construct a very high-speed internet connection using both WiFi bands. The Netgear EX3800 AC750 extender is compatible with any standard WiFi router. With the Netgear AC750 Setup, you can say goodbye to dead zones.
Setup of a Netgear wifi extender can be accomplished in one of two ways:
- Manual setup (Web browser setup).
- Wireless protected setup (WPS).
To complete the Netgear EX3800 setup, follow these steps:
- Ascertain that the Netgear EX3800 range extender is powered on.
- Keep your WiFi extender close to your router.
- Connect your extension cord to a power outlet.
- Allow for the power LED to become green.
- Connect the Netgear AC750 extension to a router.
- Navigate to www.mywifiext.net or 192.168.1.250 on a PC or mobile device using a web browser.
- The Netgear genie smart setup wizard now appears on the computer screen.
- Follow the on-screen directions to connect your extender to your existing WiFi network.
- Reposition your extender.
- If you experience connectivity issues with your router, move the extender closer to it and retry until the Link Status LED becomes white.
- Connect your client devices to the expanded WiFi network once you’ve determined the ideal location for your EX3800 extender.
If you continue to have difficulty finalizing Netgear EX3800 setup, please contact one of our technical specialists.
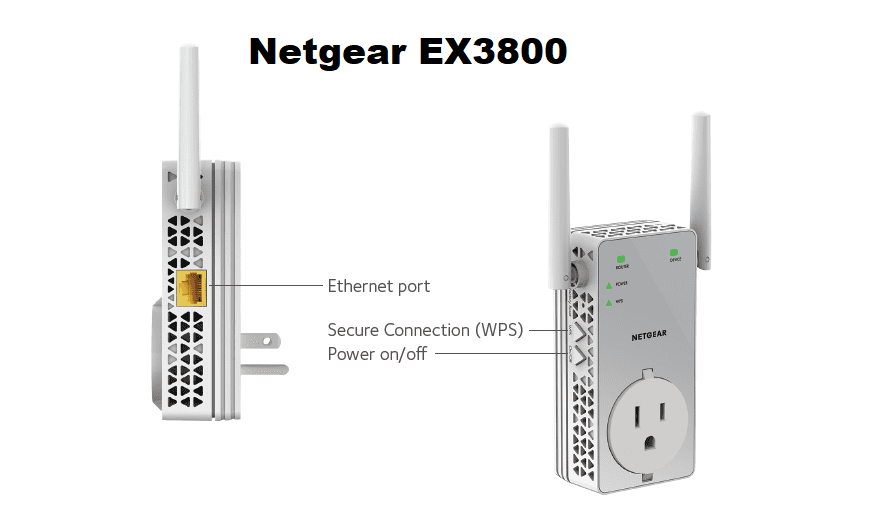
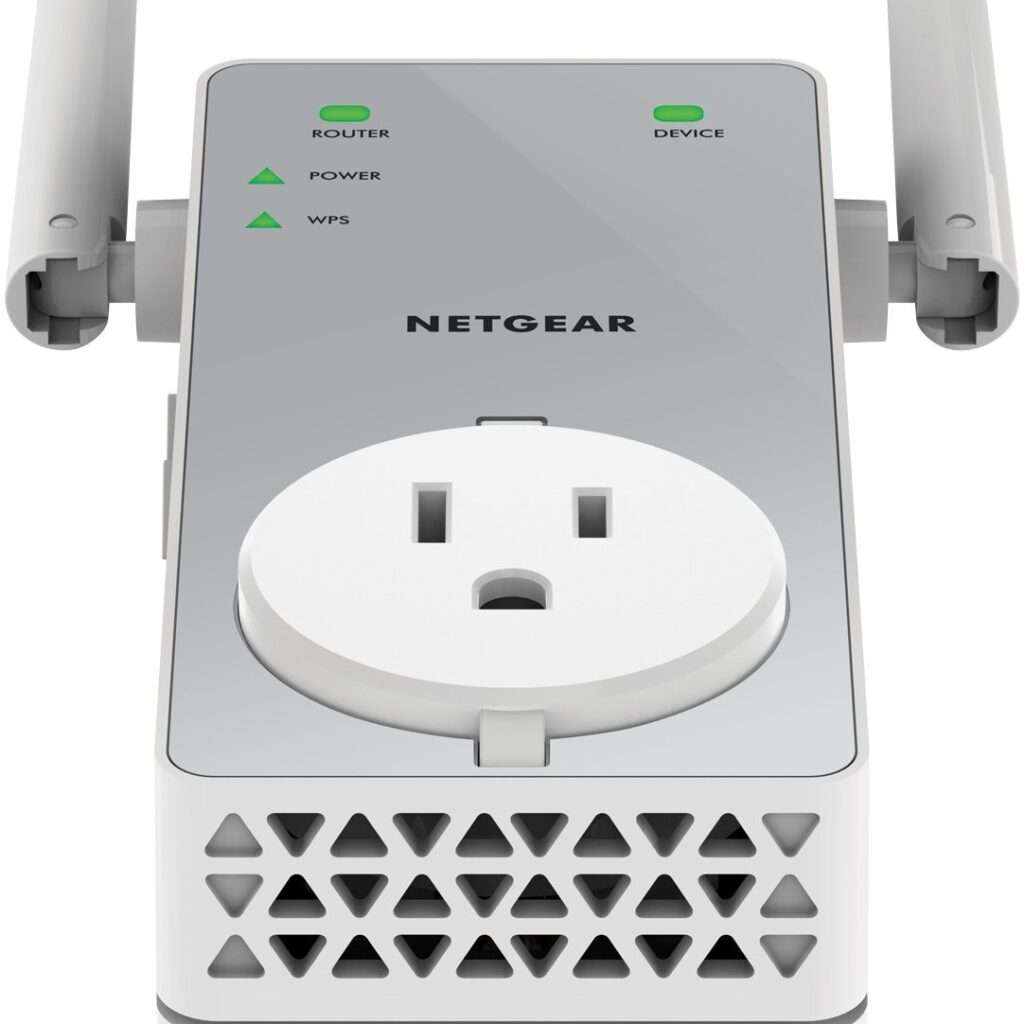
Netgear wifi extender setup | AC750 EX3800
Using the WPS button
To perform Netgear wifi extender setup using WPS button, follow these steps:
- On the Netgear AC750 EX3800 range extender, turn it on.
- Install the WiFi extension in the same room as the router.
- Connect your range extender to a power outlet following that.
- Wait for the Power LED on your EX3800 to turn a constant green.
- Press the WPS button on the extender.
- If the Netgear AC750 Link Status LED is white, your router and extender are correctly connected.
- Bear in mind that if your router supports the 5 GHz band, your extender will attempt to connect to it the first time you press the WPS button.
- If your extender does not connect to the router’s 5 GHz band the first time during Netgear AC750 setup model EX3800, it may cause a plethora of problems. Contact our specialists immediately to resolve such issues.
- Adjust the position of your extender.
- Connect to the expanded network using a WiFi-enabled PC or mobile device.
In this way you can setup your Netgear EX3800 using the wireless protected setup (WPS) within just a couple of minutes.
Step-by-step guide for Netgear Orbi AX6000 setup
Step-by-step guide for Netgear Orbi AX6000 setup Your experience with a smart home is raised by the WiFi 6 mesh network, the Netgear Orbi AX6000.
A Complete Guide to Fix Netgear POE Switch Problems
A Complete Guide to Fix Netgear POE Switch ProblemsThe networking feature known as POE, also called Power over Ethernet, is described by the IEEE 802.3af
Netgear Extender Access Point Setup
Netgear Extender Access Point Setup: A Complete Guide New Extender Setup Netgear WiFi range extenders allow users to connect to their routers from anywhere in
Netgear Nighthawk AXE11000 Router Setup
Netgear Nighthawk AXE 11000 Router SetupDo you have a thing for Netgear devices? Is that a yes? When did you most recently bring a new
How to activate access control on a Netgear wifi extender?
How to activate access control on a Netgear wifi extender?Access control is a security method that limits who or what can access resources in a
Troubleshooting Tips for Netgear Authentication Error
Troubleshooting Tips for Netgear Authentication Error When Netgear users are unable to connect to wireless because they have forgotten their Netgear extender default password, an
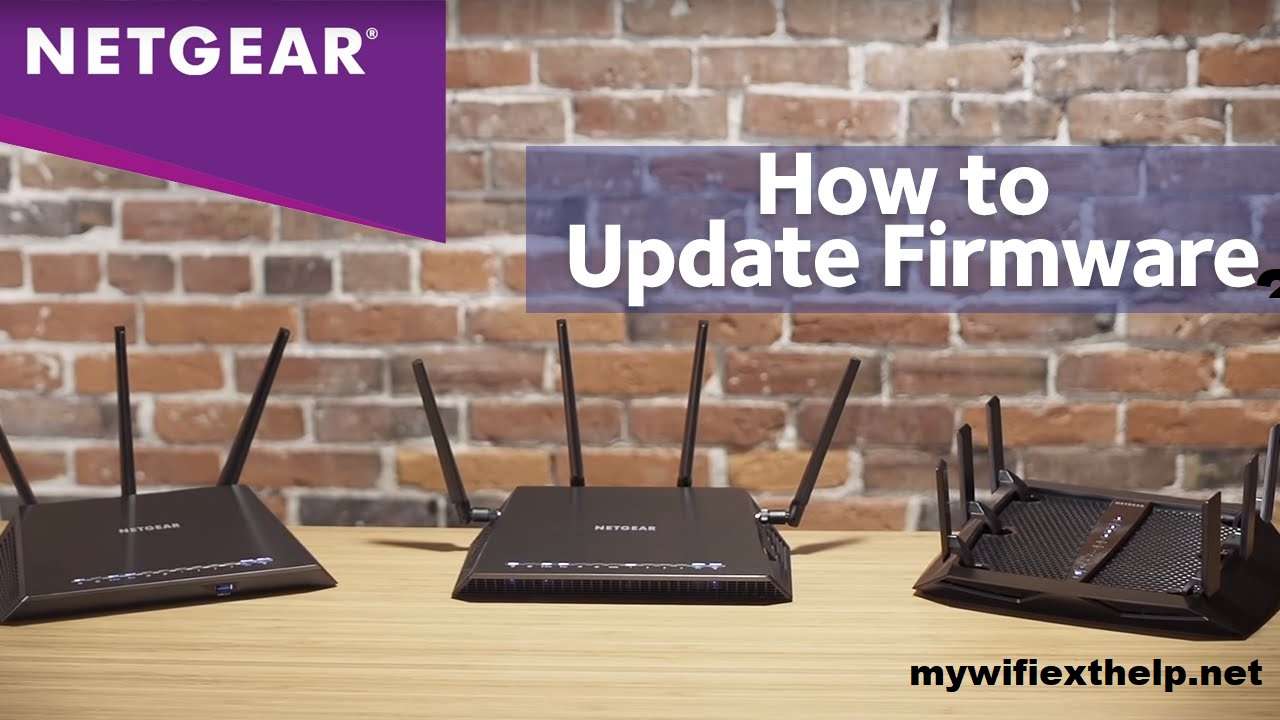
Netgear EX3800 Firmware update
Is your wireless adapter behaving strangely? Is your Netgear AC750 EX3800 WiFi extender still unable to deliver the needed speed following installation? If this is the case, you must immediately update the Netgear AC750 firmware. The Netgear Extender’s firmware is a set of instructions included in the hardware device. In layman’s words, Netgear extender firmware is a type of operating system that is optimized for use with your specific brand and model number of extenders. As a result, ensure that your extender is running the latest firmware version.
Follow the steps below to update the firmware on your Netgear EX3800:
- To begin, turn on your Netgear AC750 EX3800 WiFi extender.
- Connect the extender to the router via the Ethernet cable.
- Then, open your web browser of choice.
- Enter mywifiext.net in the browser URL bar.
- To obtain access to your Extension, enter the username and password you created.
- From the options menu, select Firmware Upgrade.
- Then, click on the Check button.
- If a new firmware version is available, select yes to upgrade the firmware on your extender.
- Allow for the proper firmware update of the Netgear AC750.
This brings our conversation to a close. Your Netgear wifi range extender’s firmware has been updated successfully. Kindly contact our specialists if you encounter any difficulties.
Netgear extender setup | EX3800
Using the Netgear Nighthawk app
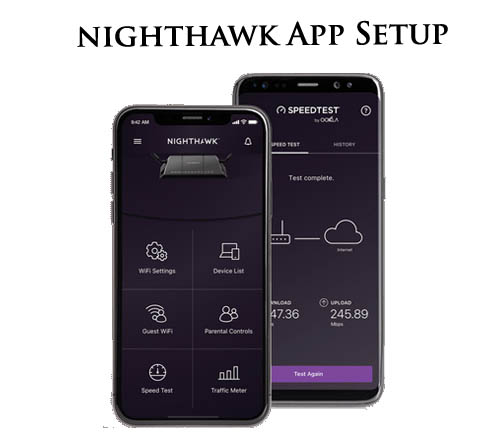
The Netgear Nighthawk app may now be used to setup and connect the AC750 EX3800 WiFi range extender to the internet. This software is compatible with both Android and iOS operating systems. The Netgear Nighthawk setup is very easy to perform.
Follow these steps to complete the Netgear EX3800 Setup using the Netgear Nighthawk app:
- To begin, double-check that your router is connected to the internet.
- Take note of the SSID, or network name, of the router, as well as the password.
- Now is the time to turn on your Netgear AC750 EX3800 range extender.
- Download the Netgear Nighthawk app to your Android or iOS smartphone.
- Then, on your smartphone, launch the previously downloaded Nighthawk app.
- To configure your wifi booster and connect to the internet, follow the on-screen instructions.
Netgear EX3800 reset through web browser
Have you experienced connectivity issues with your Netgear AC750 EX3800 range extender? Is it behaving strangely? Perhaps you’ve misplaced your administrator’s password. If any of these questions are yes, you should reset your extension. This article will demonstrate how to reset a Netgear EX3800 extender using two time-tested methods.
This is how it is accomplished:
- Connect your Netgear AC750 EX3800 to the power source.
- Open an internet browser of your choice on a computer or laptop.
- Navigate to the default web user interface for your Netgear extender.
- A login screen will be displayed to the user.
- Type in the required information.
- You are now on the Netgear genie page.
- Select Factory Reset from the drop-down menu.
- A confirmation screen will appear.
- By selecting Yes, you confirm your selection.
Steps for troubleshooting the Netgear EX3800
Use the following troubleshooting steps to address Netgear EX3800 setup issues:
- Ascertain that the Netgear AC750 EX3800 extender receives an adequate supply of electricity from the wall outlet.
- Ascertain that the wall outlet into which the extension is plugged is not damaged or shorted out.
- Conduct a thorough examination of all electrical connections. Any cable that has been damaged should be used at your own risk.
- Maintain a safe distance between your extension and walls, room corners, microwave ovens, fish tanks, cordless phones, Bluetooth devices, metal objects, aluminum studs, and similar items.
- If you’re having problems with mywifiext.net, double-check that you’ve entered the correct URL in the address field.
- Reboot your Netgear AC750 EX3800 and attempt configuration once more.
If you are still in a trouble don’t be ashamed to contact our technical experts via live chat or our toll free helpline number.