
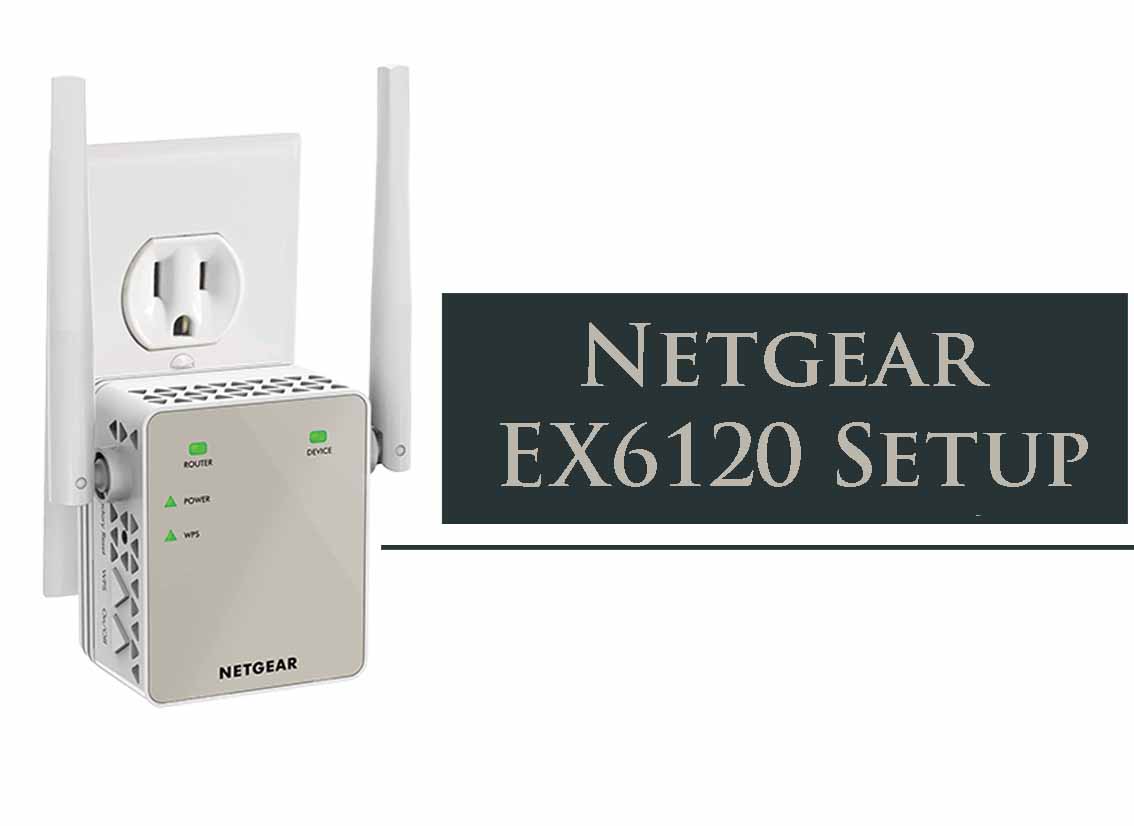
Netgear EX6120 SETUP
You may extend the range of your existing wireless network with the Netgear EX6120 setup. It is a dual band (2.4 Ghz and 5Ghz) wifi range extender which can boost the speed and range of your existing wifi. You can use your Netgear AC1200 as an extender as well as an access point in order to create a hotspot by connecting it with the help of an ethernet cable. In this blog we will let you know about the complete step by step procedure to perform Netgear extender setup.
How to set up my Netgear EX6120 AC1200 extender?
To setup your Netgear EX6120 AC1200 extender follow the steps below:
- Turn on the AC1200 EX6120 extender.
- Now Wait for the Power LED to turn solid green.
- Take out any wirelessly enabled device i.e. tablet or smartphone.
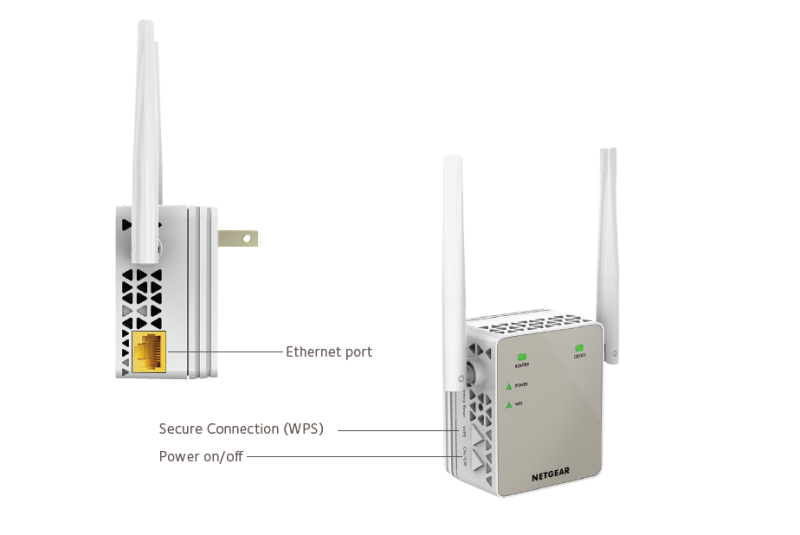
- Connect your router to the WIFI repeater using an ethernet cable.
- Once connected, launch a web browser and enter mywifiext.net in the URL bar.
- You are on the new extender setup page.
- Follow the steps to link your router and the booster with each other.

If you are not getting 4 solid lights on your extender after installing it. Then kindly factory reset for access Netgear Extender Setup page back again and follow the above-given method back again to connect to Mywifiext. Else you can always reach us and get help from our certified experts who are working round the clock in order to fix the problem.
Netgear EX6120 Extender Setup | AC1200
The term WPS can be elaborated as the wireless protected setup. It is also known as the easy and quick way to configure your wifi range extender without entering any password, username and all other details. In this process the user will have to press a button only.
For Netgear EX6120 extender setup go through these steps:
- Make your EX6120 turned on.
- Connect it with your existing wifi router.
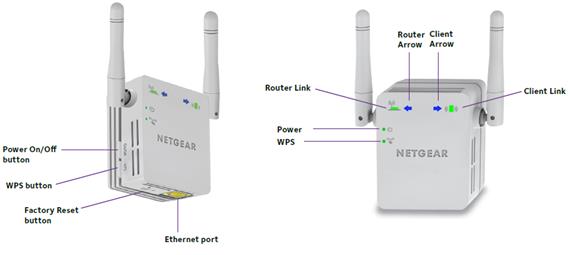
- Locate the WPS button on your EX6120 and press it.
- Also press the WPS button on your existing router.
- When your AC1200 gives three stable green lights that means the setup process has been completed successfully.
- Now place your AC1200 to your desired location with dead zones.
Netgear EX6120 Reset
Mostly the Netgear EX6120 reset operation is supposed to be performed whenever a user forgets the admin password or username and wants to retrieve it back again. After you perform the factory reset operation successfully it will delete all your personalized information and prepare your AC1200 for a new installation process. In order to perform the factory reset operation on your extender you must have a paper pin or something like that.
Here are the steps for Netgear EX6120 reset process:
- Power on your Netgear EX6120.
- Find the reset button on your AC1200.
- Grab a pin or a pen and press the reset button for 9-10 seconds.
- Once the LED blinks and then turns stable green which means you have performed the factory reset operation successfully.
Recent Posts
- Step-by-step guide for Netgear Orbi AX6000 setup
- A Complete Guide to Fix Netgear POE Switch Problems
- Netgear Extender Access Point Setup
- Netgear Nighthawk AXE11000 Router Setup
- How to activate access control on a Netgear wifi extender?
- Troubleshooting Tips for Netgear Authentication Error
- Quick Troubleshooting Techniques for Mywifiext Not Loading Error
- Netgear Nighthawk XR1000 Router
In this way you will be able to reset your EX6120. If you still face any trouble with your extender, then you can contact us by our toll free numbers or also by live chat.
Netgear EX6120 firmware update
After you perform Netgear EX6120 firmware update you will be able to get the new security features and other new features which tends to Fix the bugs and other problems that you might have faced while using your extender, and also improves the performance of your AC1200. In order to update the latest version of the firmware you will have to visit mywifiext.net.
To perform Netgear EX6120 firmware update operation follow the given steps:
- Firstly power on your EX6120.
- Grab a mobile device and get connected to your existing network.
- Open a browser and go to www.mywifiext.net.
- Login to your AC1200 by entering personal details.
- Tap on settings and then hit on firmware upgrade.
- Keep in mind, Don’t unplug your extender while the firmware update process is going on.
That's how you will be able to perform the firmware update operation on your Netgear EX6120. In the next blog we will discuss the factory reset operation.
How do I log in to my Netgear EX6120 WIFI Extender?
- To access the login page, connect your WIFI device with the Netgear EX6120.
- Launch a web browser on your wireless-enabled device.
- And type in default Ip address into the URL bar.
- You are now on the mywifiext login page.
- Enter your default credentials and sign in to your extender account.
- You are now on the Netgear genie page.
From the above-given instruction if you still can’t access the Netgear AC1200 WIFI extender login page? Feel free to get in touch with our certified expert.
For more information and troubleshooting:
