
Netgear EAX12 Setup
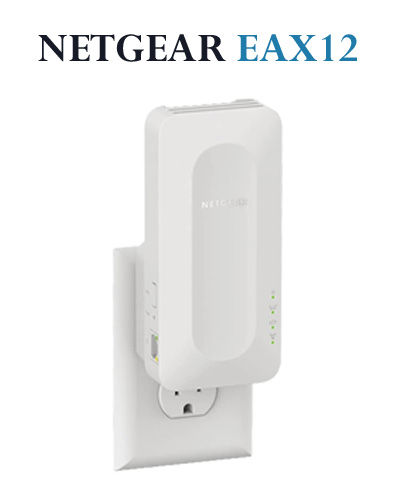
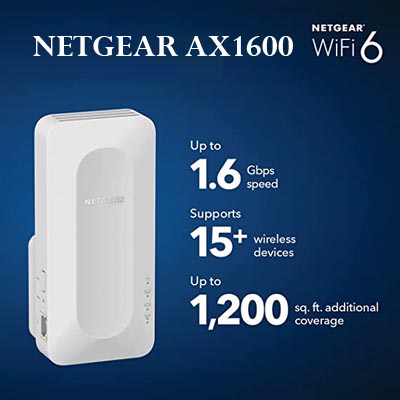
Let’s get introduced to the Netgear EAX12 AX1600 wifi mesh extender which provides perfect coverage across your home or office. It can deliver the max speed upto 1.6 Gbps and 1200 Sq ft Coverage area which tends to reduce the interference and turn the dead zones of your home or office into fun zones. It is suitable with any wireless router or any cable modem. After you complete the Netgear EAX12 setup you will be able to connect upto 15 smart devices with it.
For Netgear EAX12 setup go through these steps:
- Plug in your EAX12 and turn it on.
- Place your AX1600 and the router in the same room.
- On any internet browser go to www.mywifiext.net.
- On your screen you can see the Netgear installation assistant.
- To finalize the setup process follow the prompts.
- If the LEDs on your EAX12 turns solid green which means that you have successfully completed the setup process.
- Now you can unplug your AX1600 and plug it back at your desired location.
That’s how you can perform the Netgear EAX12 setup manually. In case you are not able to setup your booster by manual procedure then don’t worry. We will teach you to setup your booster within two minutes only. Let’s see how
Netgear EAX12 WPS setup | AX1600
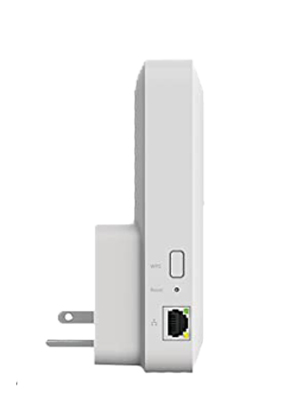
Let’s get familiar with the easiest and fastest method to install your extender i.e. the wireless protected setup (WPS). You can perform the Netgear EAX12 WPS setup within two minutes only. In this procedure you will have to press a small WPS button only which is available at the side panel of your AX1600.
For Netgear EAX12 WPS setup follow the given instructions:
- Make your EAX12 powered on.
- The booster should be placed near the existing router.
- After the power LED turns solid green.
- Locate the WPS button on the AX1600 and press it.
- Also press the WPS button on the regular wifi device.
- Wait for the LEDs on your booster to become solid green.
- Now the installation process has been completed.
That’s how we can perform the Netgear EAX12 setup through wireless protected setup (WPS) within a couple of minutes. In the upcoming blog we will discuss the firmware update process for your wifi range extender.
Netgear EAX12 Firmware Update
Firmware update refers to the process of installing the latest version of firmware file which comes along with the new security features and other new features which are given by Netgear from time to time. After you perform Netgear EAX12 firmware update then you will be able to fix the bugs and increase the performance of your AX1600 as well.
For Netgear EAX12 firmware update go through these steps:
- Turn on your Netgear EAX12.
- Grab any wifi supported smart device.
- Open any internet browser and go to mywifiext.net login.
- Login to your Netgear EAX12 by putting the personalized details.
- Open settings and then tap on the firmware upgrade.
- Do not unplug your AX1600 while the update process is going on.
That’s how you can update the latest version of firmware and increase the performance of your extender. In the next blog we will let you know the factory reset process.
How to reset Netgear EAX12?
Factory reset is the operation which is supposed to be done in the most of the cases whenever a user forgets his passphrase and want’s to retrieve it back. In order to reset Netgear EAX12 you must have a paperclip or toothpick with you. After you perform the factory reset it will automatically delete all your personal information like passphrase, username, SSID e.t.c. and make your extender ready for the Netgear extender setup process.
Here are the steps to reset Netgear EAX12 :
- Plug in your Netgear EAX12 into an electrical outlet.
- Take any hard pointed object like a paperclip or toothpick.
- Locate the factory reset button and push it for 8-10 seconds with the help of a toothpick.
- After a minute it will automatically reboot and it is now ready for the new setup process.
That’s how you can complete the Netgear EAX12 reset process. In case you need any assistance regarding any process you can reach us at our toll free number or via live chat. Our technical team is always there to help you anytime.