
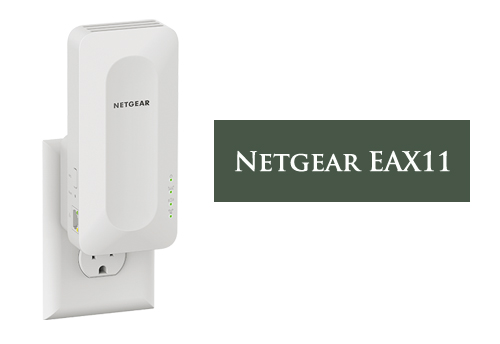
Netgear EAX11 setup
Let’s get started with Netgear EAX11 Setup process. But before the installation process let’s get familiar with the Netgear EAX11 AX1600 dual-band 4-stream 6 mesh extender. It comes with dual-band technology by virtue of which it is capable of extending your wifi network very fast. You will be able to extend your network even at the dead zone areas of your home or office after performing the Netgear Nighthawk EAX11 Setup. It provides the max speed of up to 1.6 Gbps and it comes with an 880 Mhz dual-core processor which enables the gaming and 4k UHD streaming experience. In this blog, we will let you know the step-by-step process to setup your brand new Nighthawk EAX11 or configure the old one.
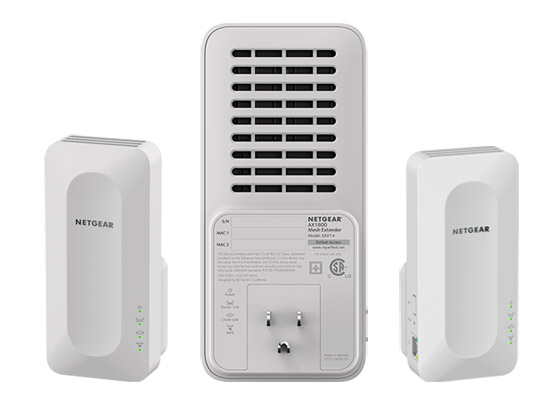
Table of Contents
Here are the steps for Netgear Nighthawk EAX11 AX1600 setup:
- Plugin your EAX11 into a power socket and turn it on.
- AX1600 should be placed near your home router.
- Wait for the power LED to give a stable green light.
- On a web browser type mywifiext.net and hit the enter key.
- Netgear Installation Assistant will appear on the screen.
- To proceed with the on-screen instruction.
- If you see all stable led lights on the extender, it means the setup Netgear EAX11 process has been completed successfully.
- Unplug the AX1600 and place it at your desired location where you want to extend the network.
In this way, you can configure your Netgear AX1600 in simple steps. In the next blog, we will discuss the wireless protected setup (WPS) to install your wifi range extender.
For more information:
Netgear Nighthawk EAX11 AX1600: WPS Setup
Have you ever heard about the wireless protected setup, is it one of the fastest and easy processes to configure your extender? After you perform the Netgear Nighthawk EAX11 AX1600 with the WPS button you will see your WIFI booster connected to your main router or modem within 2-3 minutes. In this process users will have to press a small button only, there is no need for your personalized details like password, username, SSID e.t.c.
To perform Netgear Nighthawk EAX11 AX1600 WPS Setup follow the given steps below:
- Plugin your Netgear Nighthawk EAX11 into an electrical outlet.
- Make sure that your AX1600 should be placed near the existing router.
- Wait until the power LED turns stable green.
- Locate the WPS button on your AX1600 and press it.
- Press the WPS button on the router also.
- Once all lights go steady green, it means setup Netgear EAX11 process is completed.
- Now place your Nighthawk AX1600 at your desired location.
That’s how you can perform the Netgear Nighthawk AX1600 WPS setup in just two minutes. In the next blog, we will discuss another procedure to setup your extender using the Nighthawk app.
RECENT POST
Step-by-step guide for Netgear Orbi AX6000 setup
Step-by-step guide for Netgear Orbi AX6000 setup Your experience with a smart home is raised by the WiFi 6 mesh network, the Netgear Orbi AX6000.
A Complete Guide to Fix Netgear POE Switch Problems
A Complete Guide to Fix Netgear POE Switch ProblemsThe networking feature known as POE, also called Power over Ethernet, is described by the IEEE 802.3af
Netgear Extender Access Point Setup
Netgear Extender Access Point Setup: A Complete Guide New Extender Setup Netgear WiFi range extenders allow users to connect to their routers from anywhere in
Netgear Nighthawk EAX11 firmware update
Is your Nighthawk AX1600 has started behaving badly or is it not delivering the proper speed even after a successful Netgear EAX11 setup operation? If yes then you will have to go with the firmware update process which comes with the new security features and other features. After you perform the Netgear Nighthawk EAX11 firmware update you will be able to fix the bugs and other many issues that a user might face while using the extender.
Here are the steps for Netgear Nighthawk EAX11 firmware update:
- Make your Netgear Nighthawk AX1600 turned on.
- Grab any wifi-enabled mobile device i.e. smartphone, desktop, or laptop.
- Open any web browser and type www.mywifiext.net and then hit the enter key.
- The Netgear login window will appear on the screen.
- Put your personalized details to be logged in.
- Hit on settings and then on firmware upgrade.
- Don’t turn off your AX1600 while the update process is in progress.
That’s how you can update the latest version of firmware and fix your issues regarding your EAX11. In the next blog, we will talk about how to perform the factory reset operation.
How to reset Netgear Nighthawk EAX11 AX1600?
Sometimes it happens that a user forgets his passphrase or username. In order to retrieve it back, the factory reset operation is the best way. After you reset Netgear Nighthawk EAX11 it will strike out all your personal details including your password, username, SSID e.t.c. and make your AX1600 ready for the new configuration process. In order to reset your EAX11, you must have a paper clip or a pen.
To reset Netgear Nighthawk EAX11 go through these steps:
- Turn on your EAX11.
- Take a paper clip or pen.
- The reset button can be seen at the side panel of the extender.
- With the help of a pen press the reset button for 8-10 seconds.
- After a minute, your EAX11 will reboot and it is now ready for the new installation process.
That’s how you can reset your extender in a very simple way. If you still have any problem with your extender you can reach us by dialing our toll-free number and also via live chat. Our technical team is always there to help you 24*7.